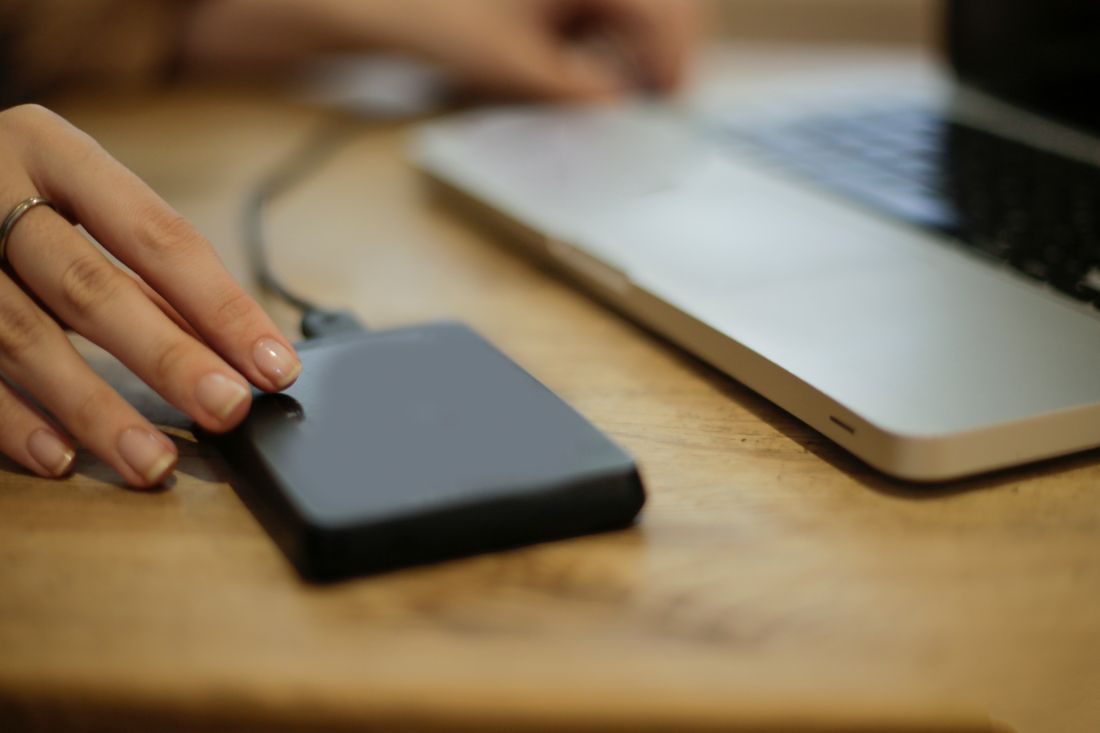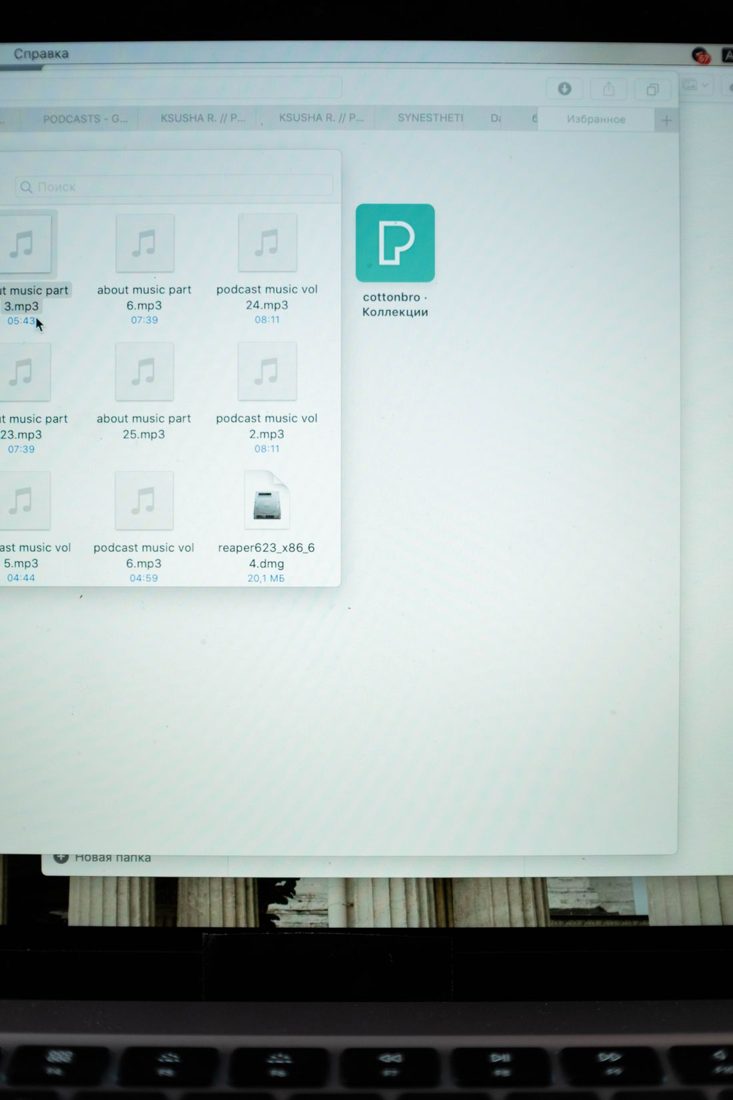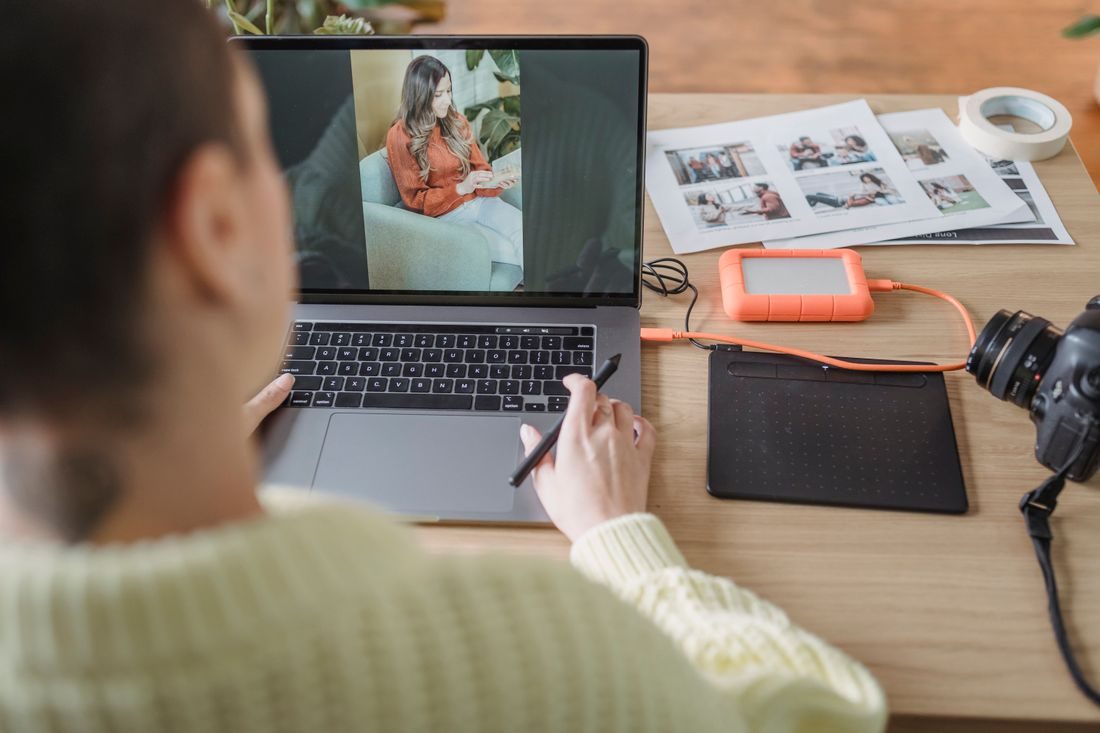
Transferring a camera card is more than dragging a few visible clips onto a desktop. You need to know which card produced each file, whether the complete session arrived and where the untouched originals are stored. A repeatable transfer routine makes these questions easier to answer before editing creates new versions and additional files.
Identify the card and destination first
Create a destination folder for the project and a distinct subfolder for each card or recording session. If two cameras both generate a file called 0001, their folders should keep those files separate without requiring immediate renaming.
Write down a simple source label, such as camera-A-card-01. Use the label in your transfer notes and, where practical, on the card case. Check that the destination has enough available space for the complete copy and the work that will follow.
Copy the complete relevant structure
Use a reliable card reader or the camera's supported transfer method. Copy rather than move the files during the initial transfer. Some recording formats include associated metadata or depend on a folder structure, so preserve the camera-created folders when you are unsure.
Avoid selecting only the large video files because smaller items look unimportant. Keep the transferred source area intact and perform selections inside your editing application or a separate working area. If a transfer reports an error, note the affected source and investigate it before continuing.
Verify what arrived
Compare folder contents and file counts with the card. Check total sizes as a useful additional signal, then open photographs and play clips from different parts of the session. Include a long recording and any file that looks unusually small.
Read the copied files from the destination, not from the card still connected to the computer. For a more thorough transfer, use a trusted verification tool that compares file checksums. Record the outcome and any files that need attention rather than relying on a memory that the progress bar looked normal.
Keep a clear boundary before reuse
Make a separate backup of the transferred originals and check that copy as well. Keep the card unchanged until you have verified the transfer and the backup you intend to rely on. Mark its status so it is not accidentally returned to the empty-card pile.
After the project has a dependable source location, import from there into the editing application. Record the path in the project notes. If you later reorganise the storage, update the notes and relink through the software carefully instead of scattering replacement copies across several folders.
A traceable transfer ends with identifiable source folders, a checked copy and a separate protected copy. Keep the camera card until those conditions are met. This small pause makes the rest of the editing workflow much easier to recover and explain.