Your setup
Build a compact desk setup for video calls
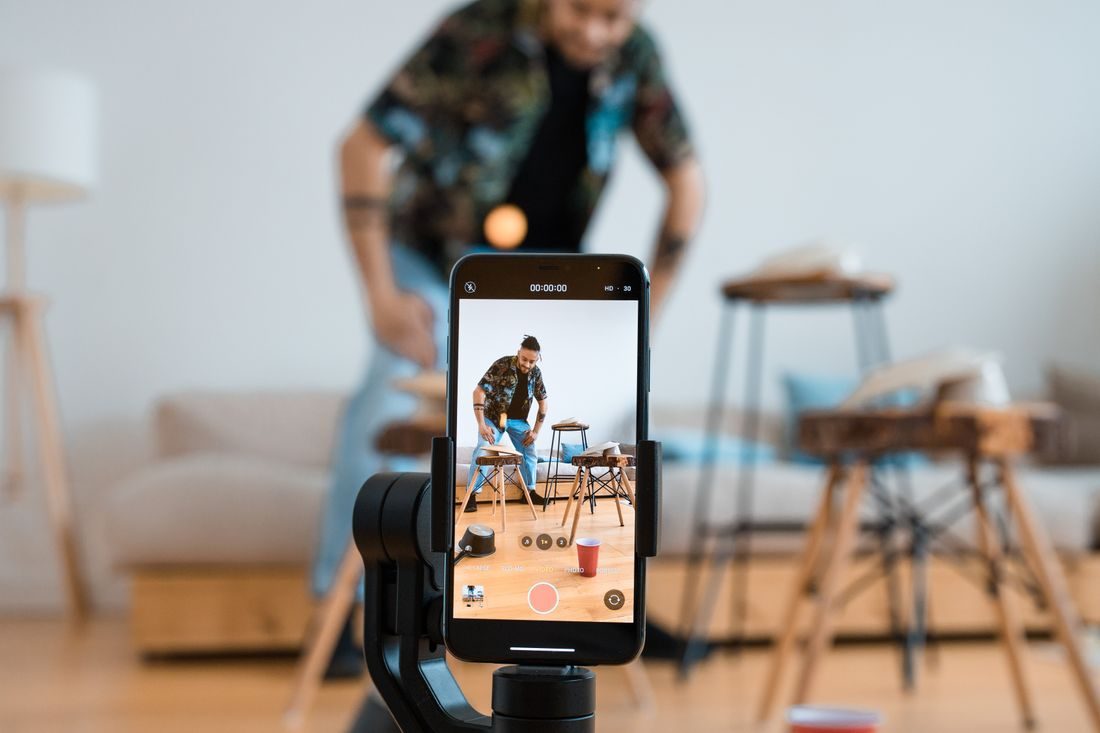
Arrange camera, light, microphone, and everyday desk tools around the actual call, keeping the setup easy to start and comfortable to use in limited space.
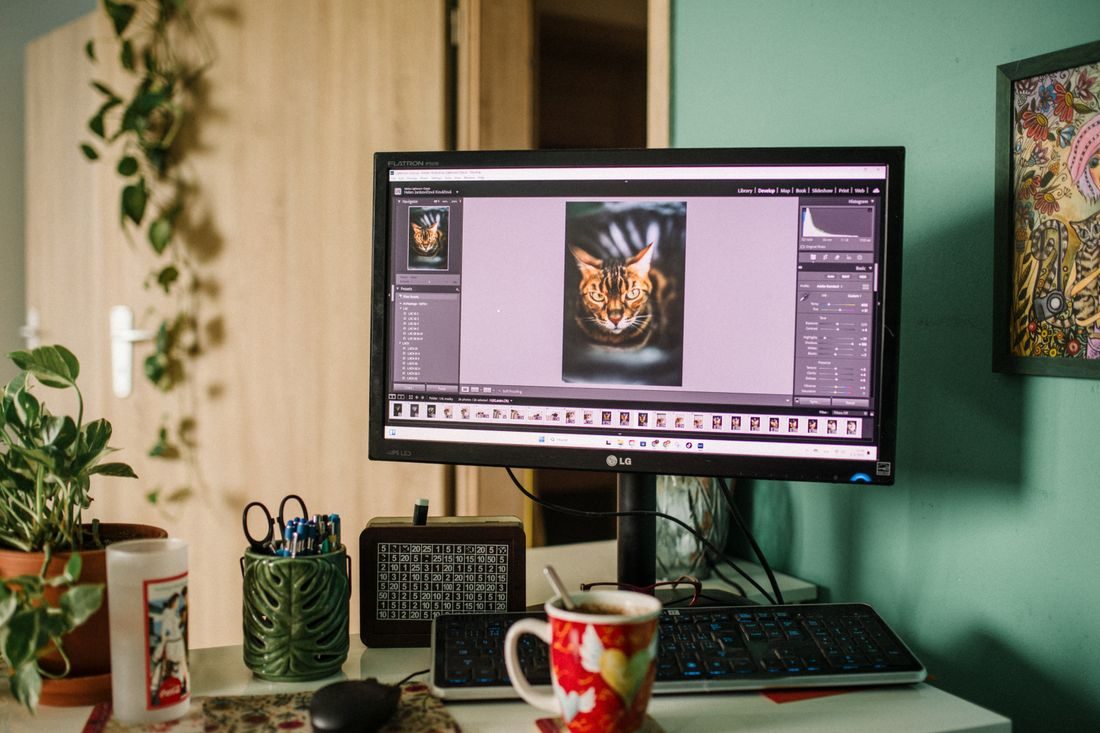
Make a useful creative space with room to work.
Arrange camera, light, microphone, and everyday desk tools around the actual call, keeping the setup easy to start and comfortable to use in limited space.
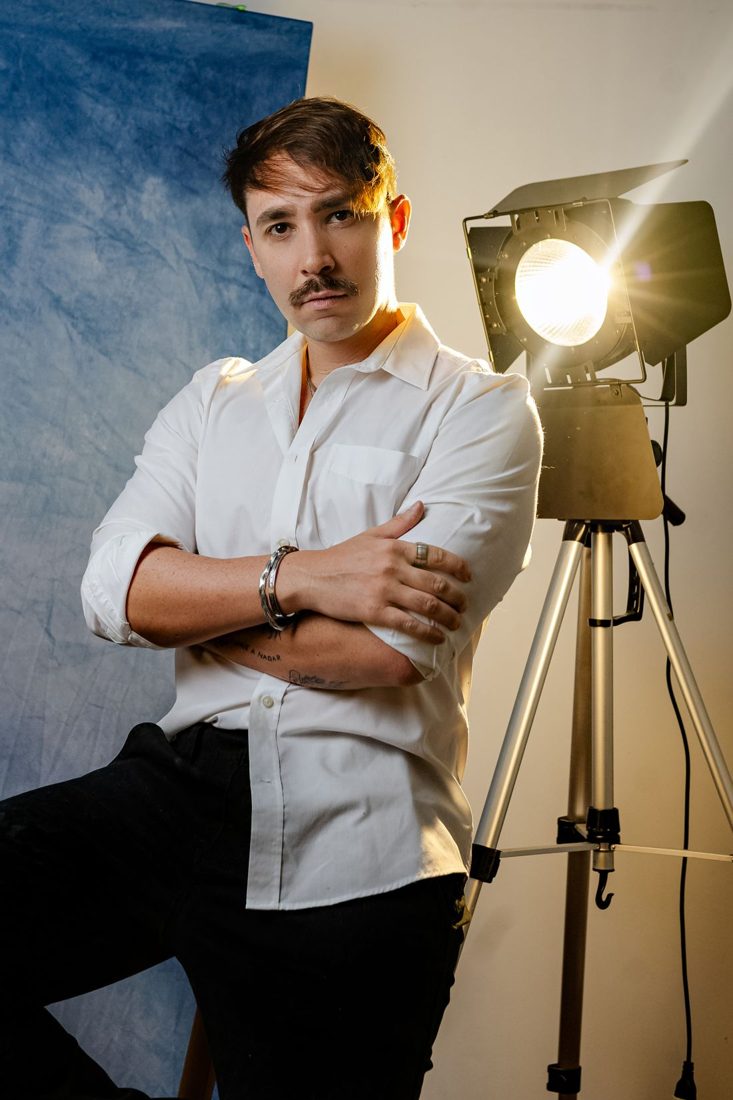
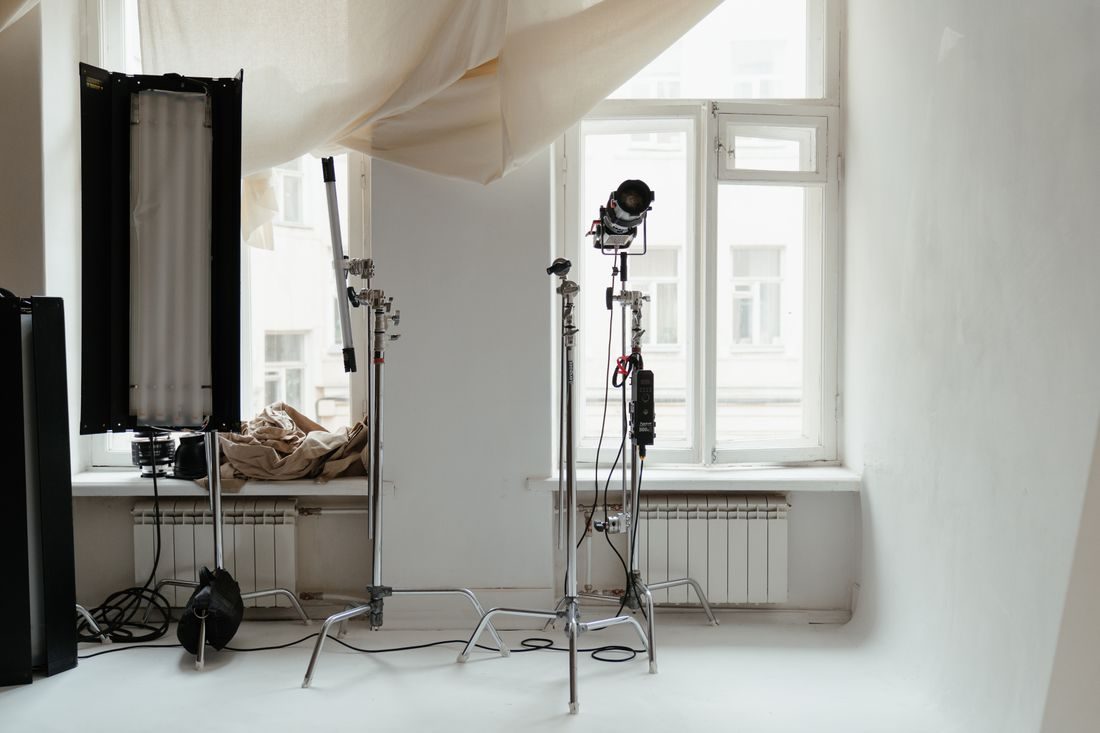
Find a useful direction for the main light, judge the result through the camera, and keep the presenter’s normal sightline clear during a recording.
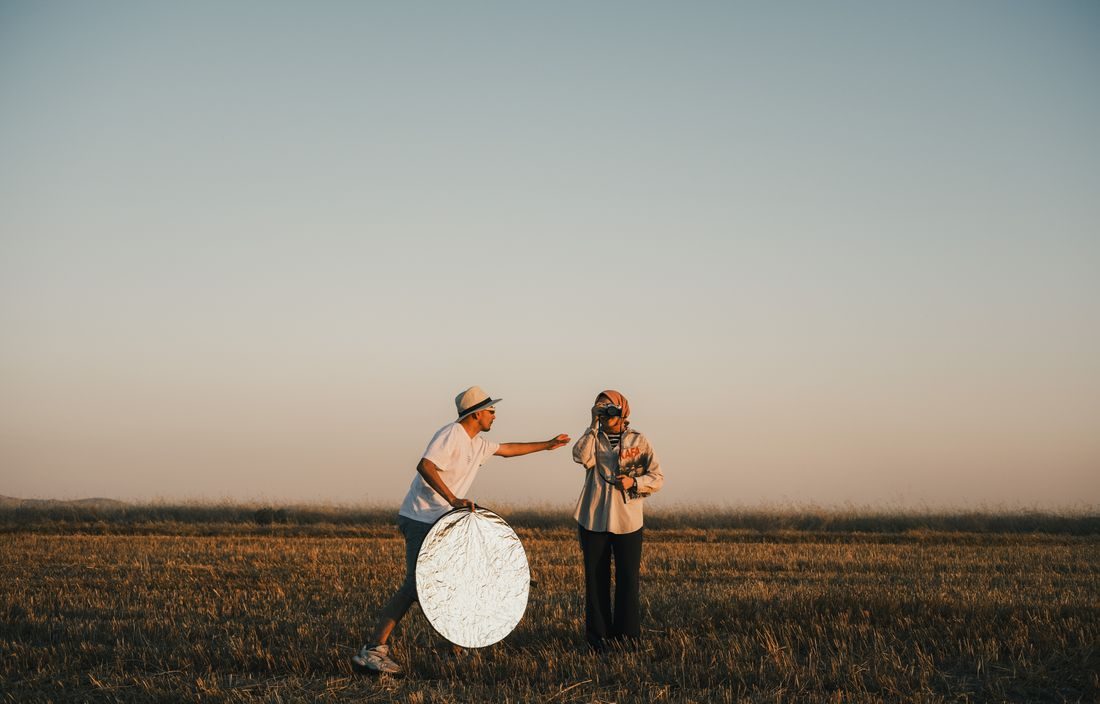
Redirect existing light towards a shadowed area, comparing small changes in reflector angle and distance before deciding whether the scene needs another powered source.
Plan a repeatable camera view, compact equipment positions, and a quick reset so a filming corner can coexist with the room’s everyday activities.
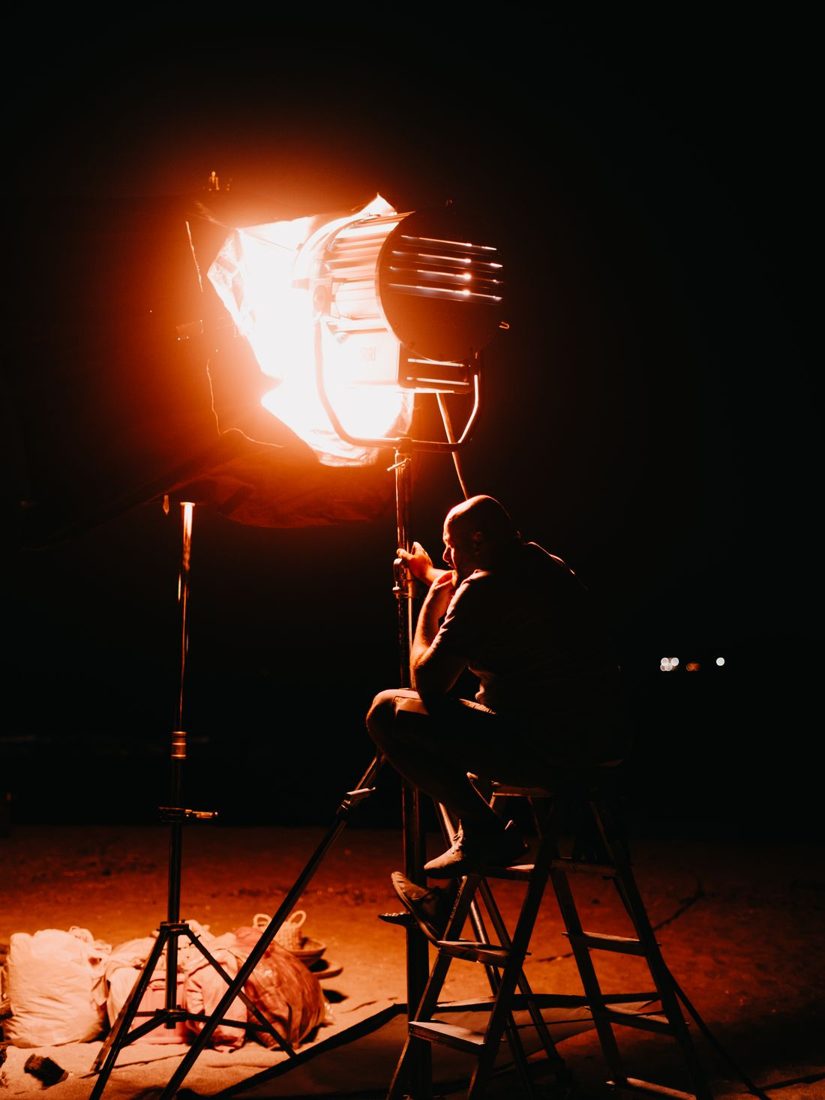
Create visible edges with position, tone, and restrained lighting so a presenter remains distinct against a dark setting without making the whole background bright.
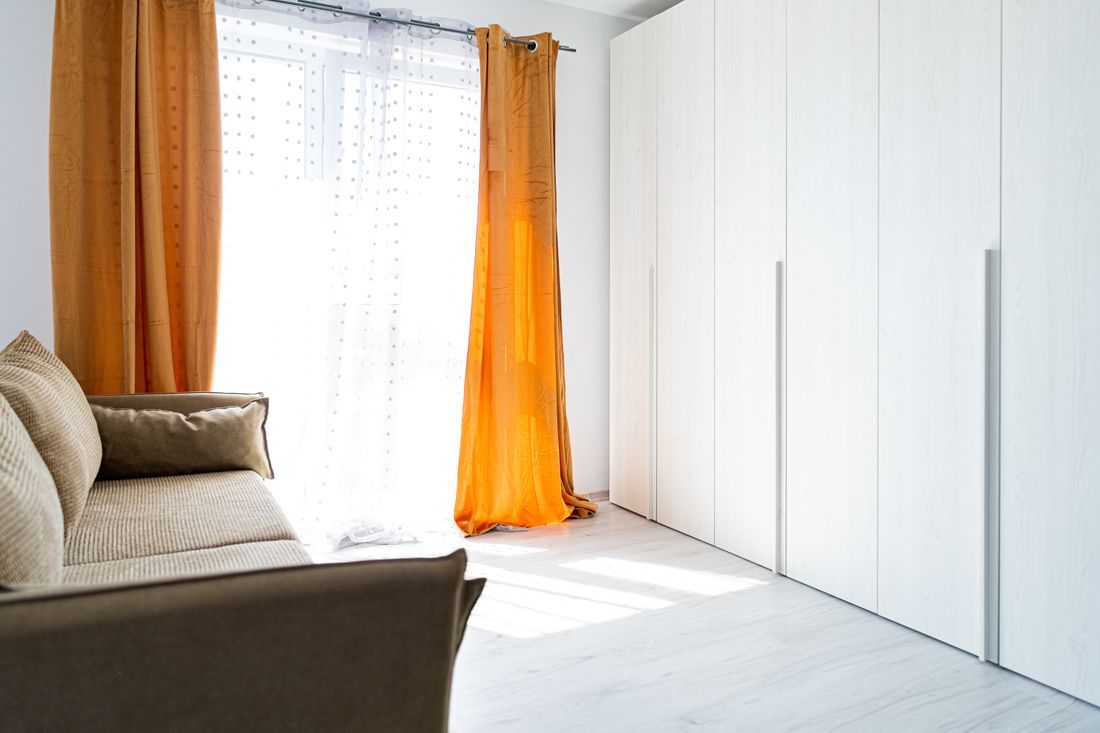
Identify competing light sources, simplify the colour balance, and compare a short recording before committing to a room where daylight changes throughout the session.
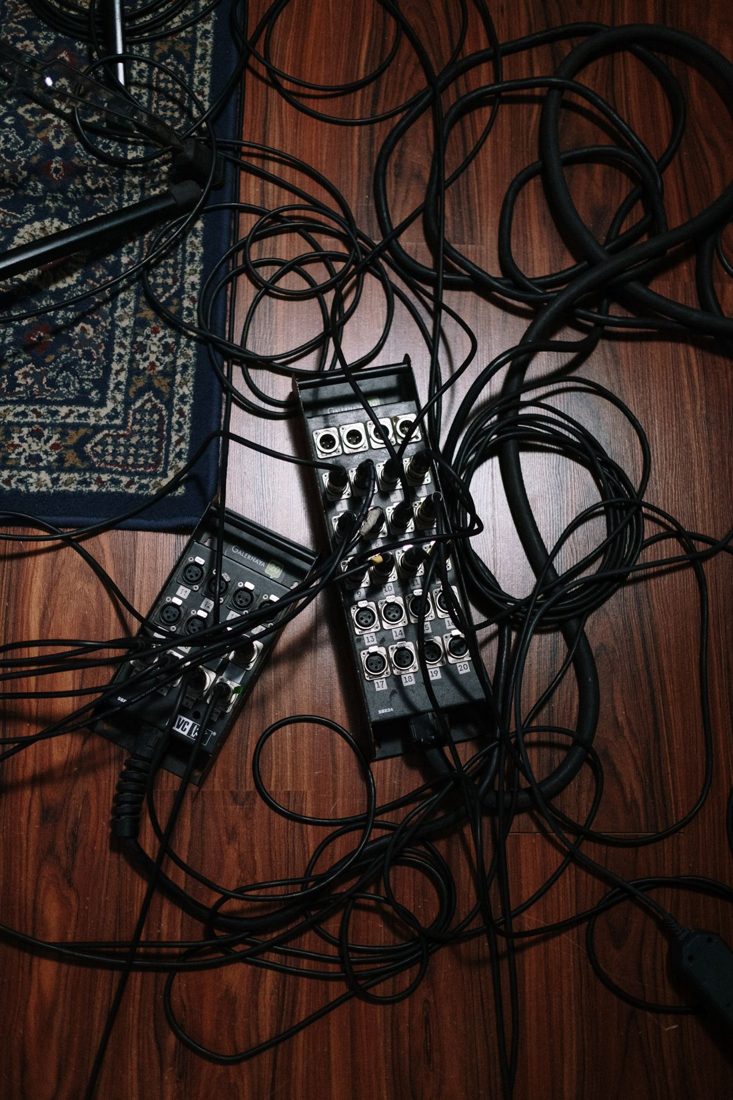
Plan the cable route around people and equipment first, then tidy the visible section without stretching connectors, concealing damaged leads, or blocking essential access.
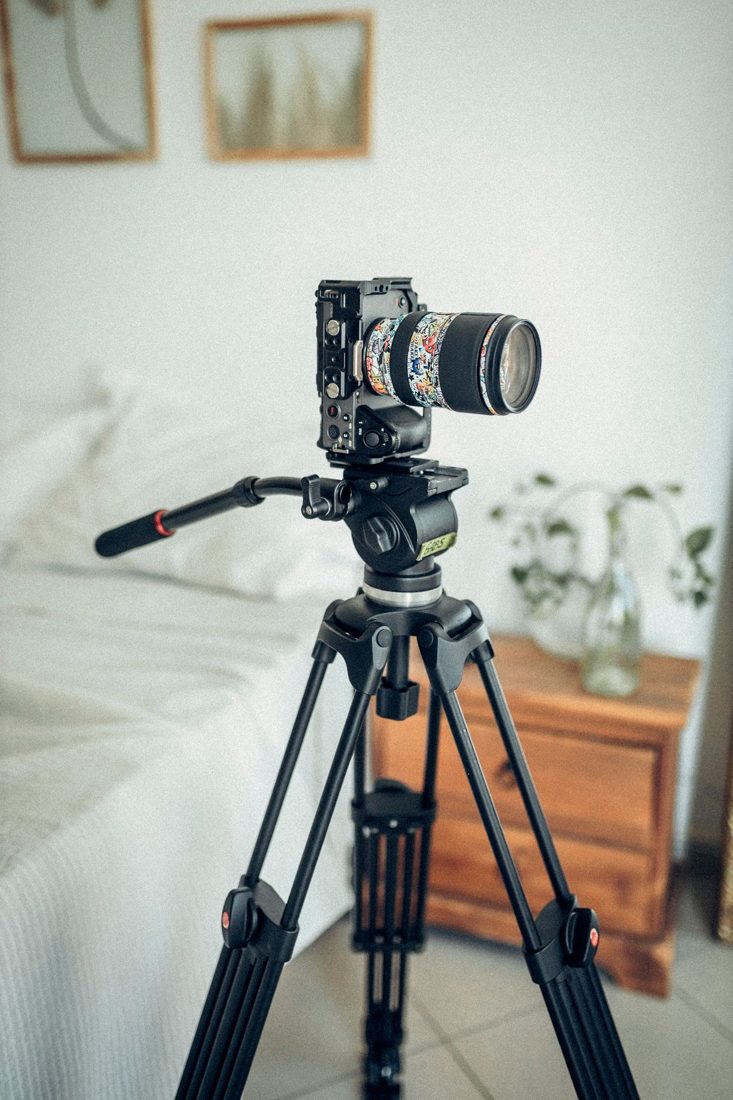
Compare the tripod’s working footprint, complete load, and operating height so it supports the intended shot without taking over the room or blocking movement.
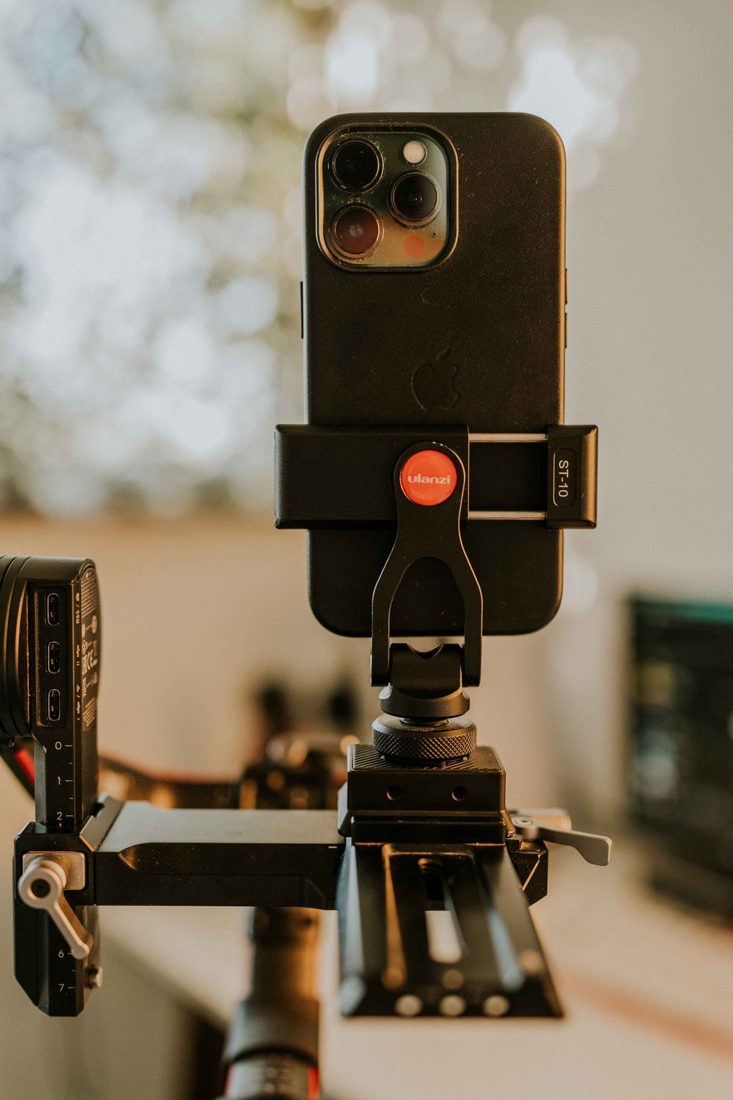
Verify the clamp, phone fit, supporting arm, and table connection as one system before positioning a device over a tabletop recording area.
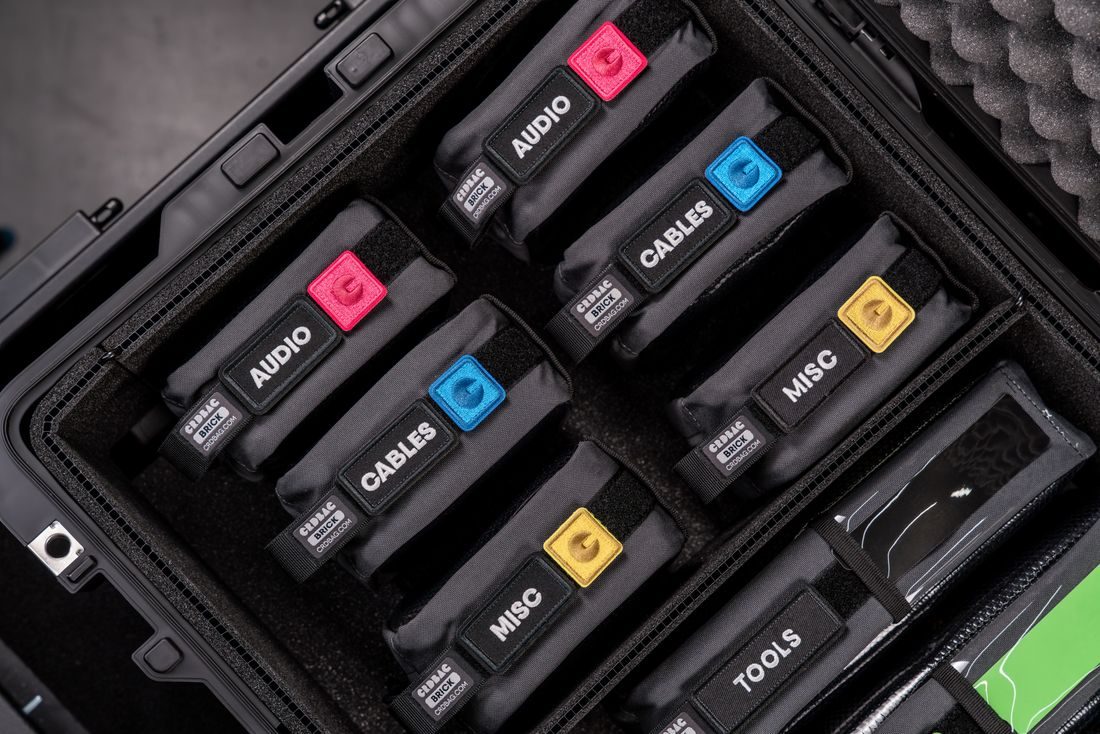
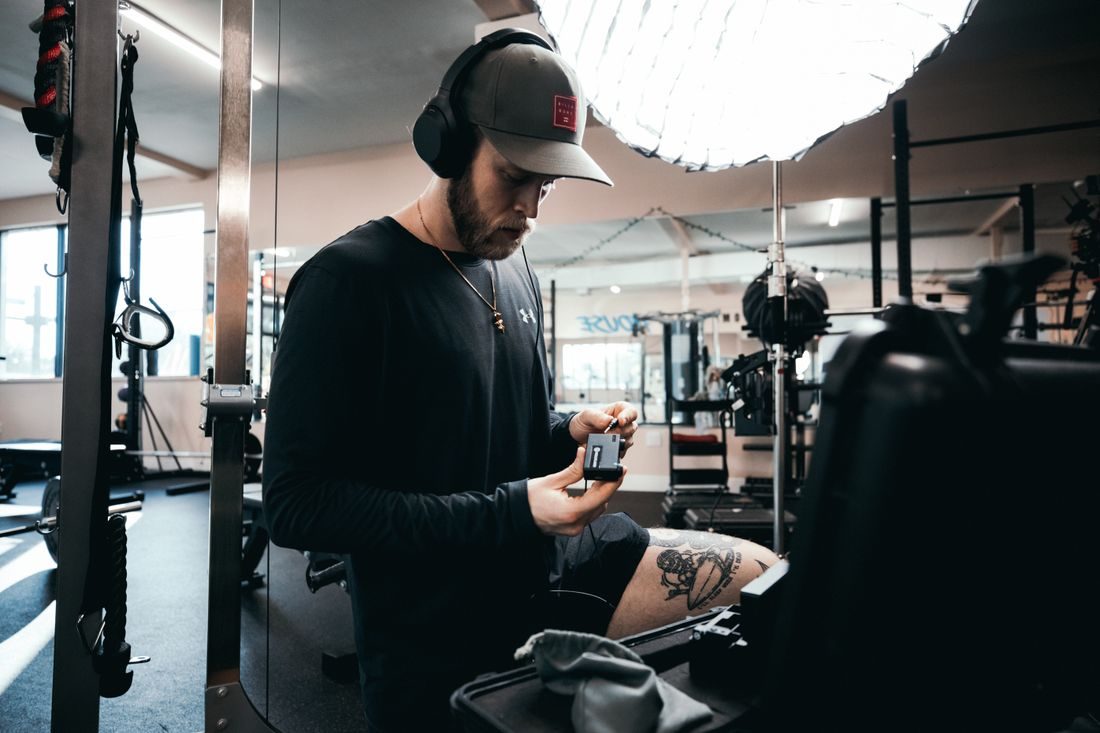
Pack around the planned shots and the route to the location, keeping essential accessories easy to reach without carrying every piece of equipment you own.
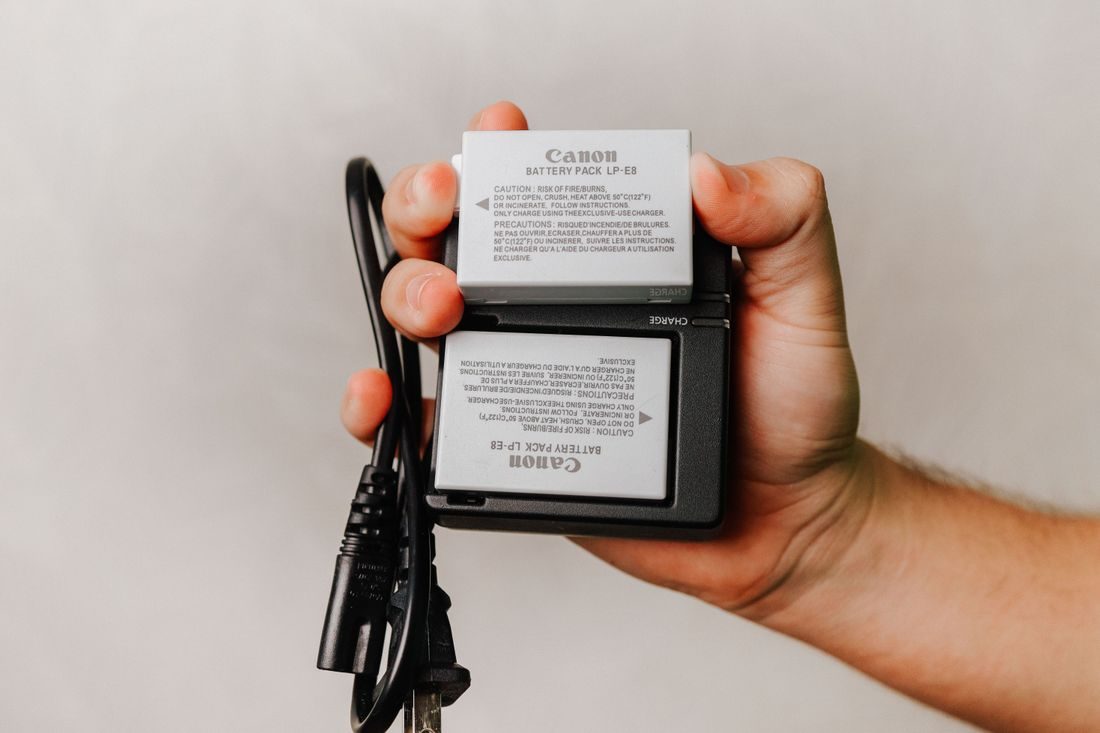
Identify compatible batteries, distinguish ready packs from used ones, and plan charging around the session without relying on uncertain runtime estimates or loose storage.
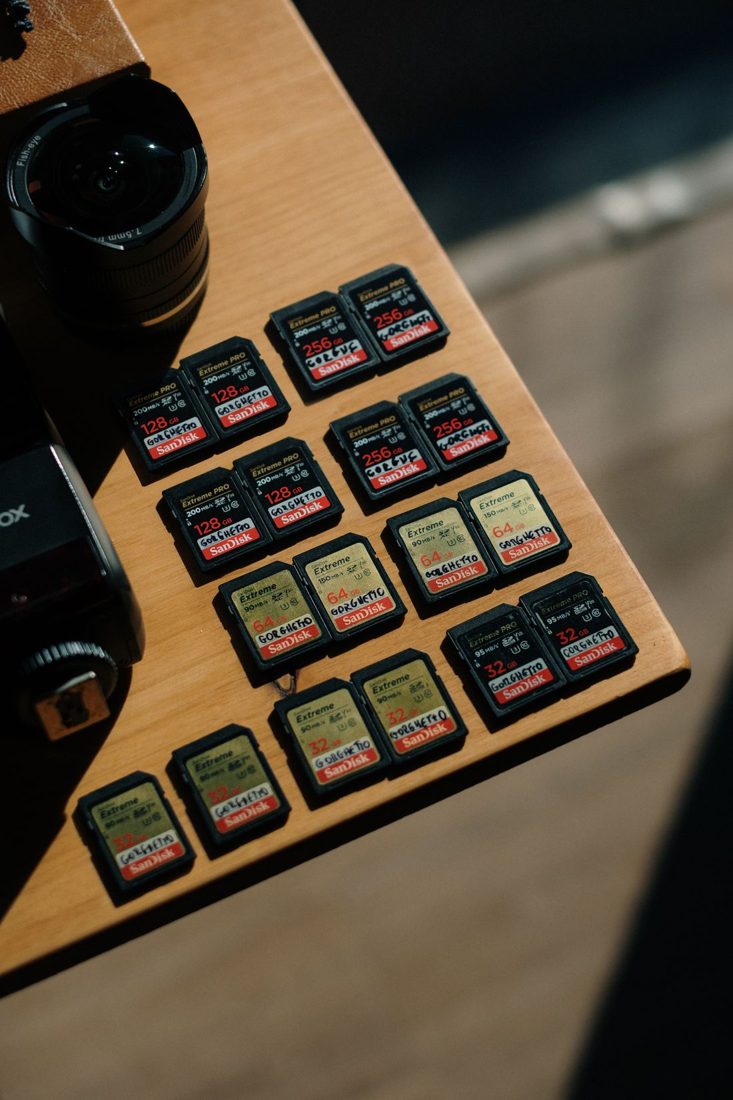
Give each card a stable identity and a clear status, separating captured media from ready cards before recording or formatting another device’s storage.
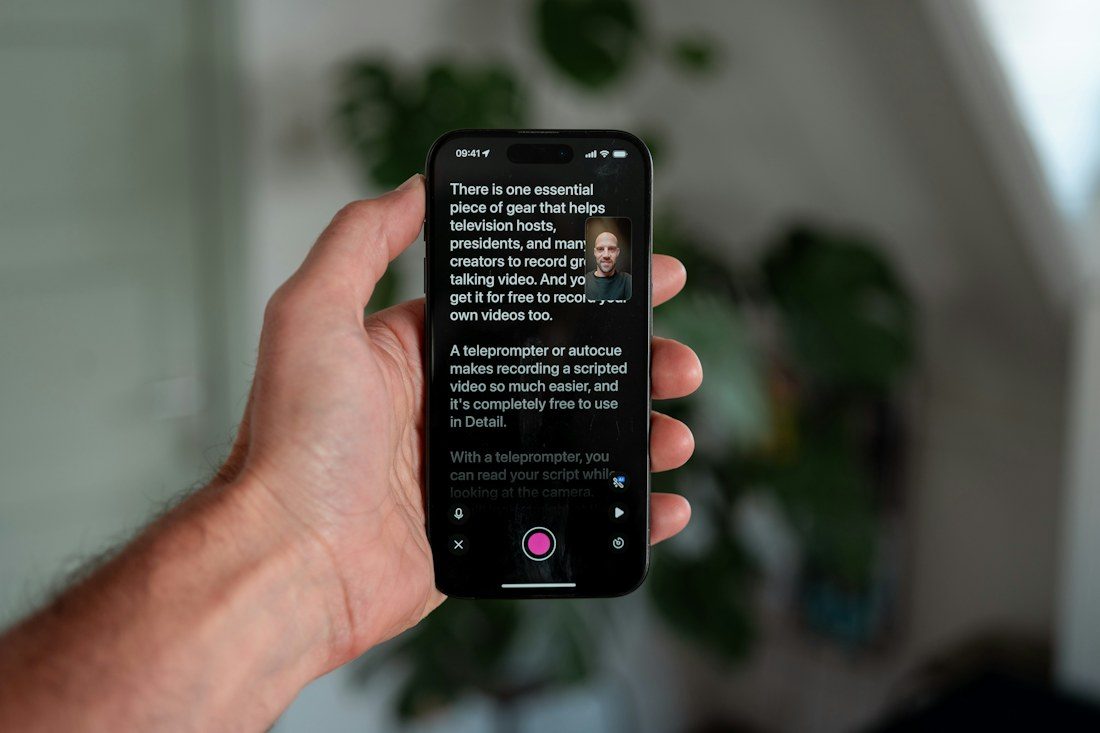
Align the camera and readable script, reduce unnecessary eye movement, and rehearse at a conversational pace so the teleprompter supports rather than dominates the performance.
Arrange the display around your working posture and viewing tasks, reducing awkward reaches and reflections while keeping room for the controls you use most.
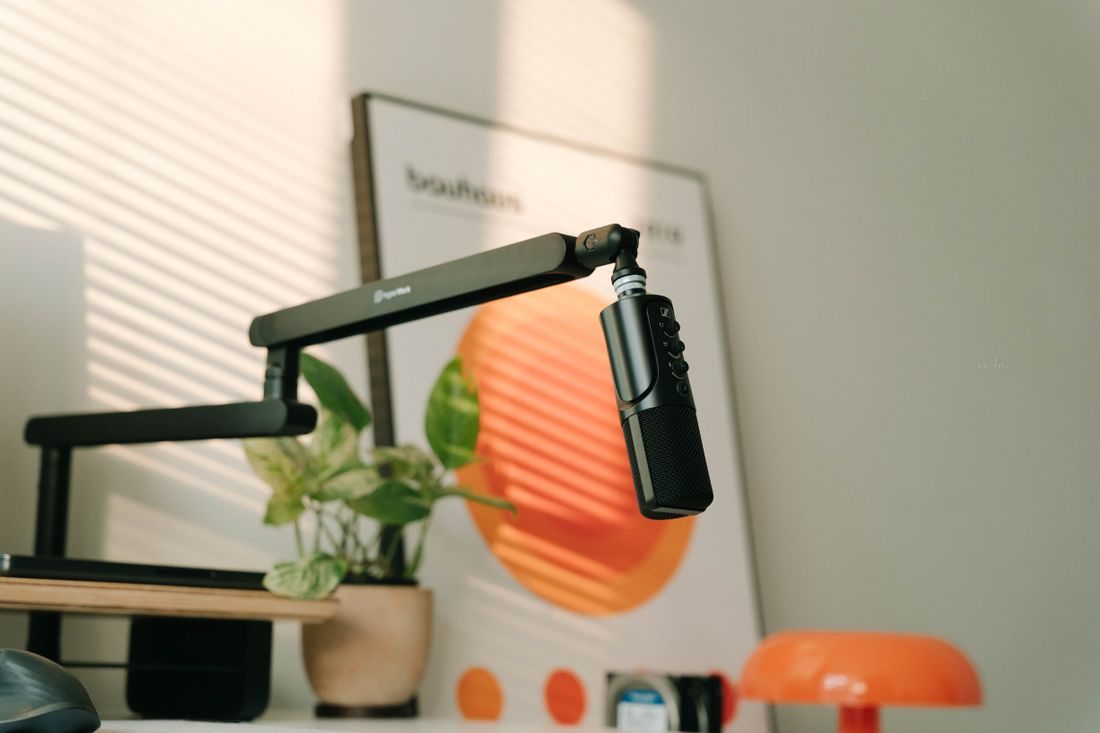
Compare reversible changes to the room’s surfaces, keeping the microphone and voice consistent so you can hear whether the furnishings improve the recording.
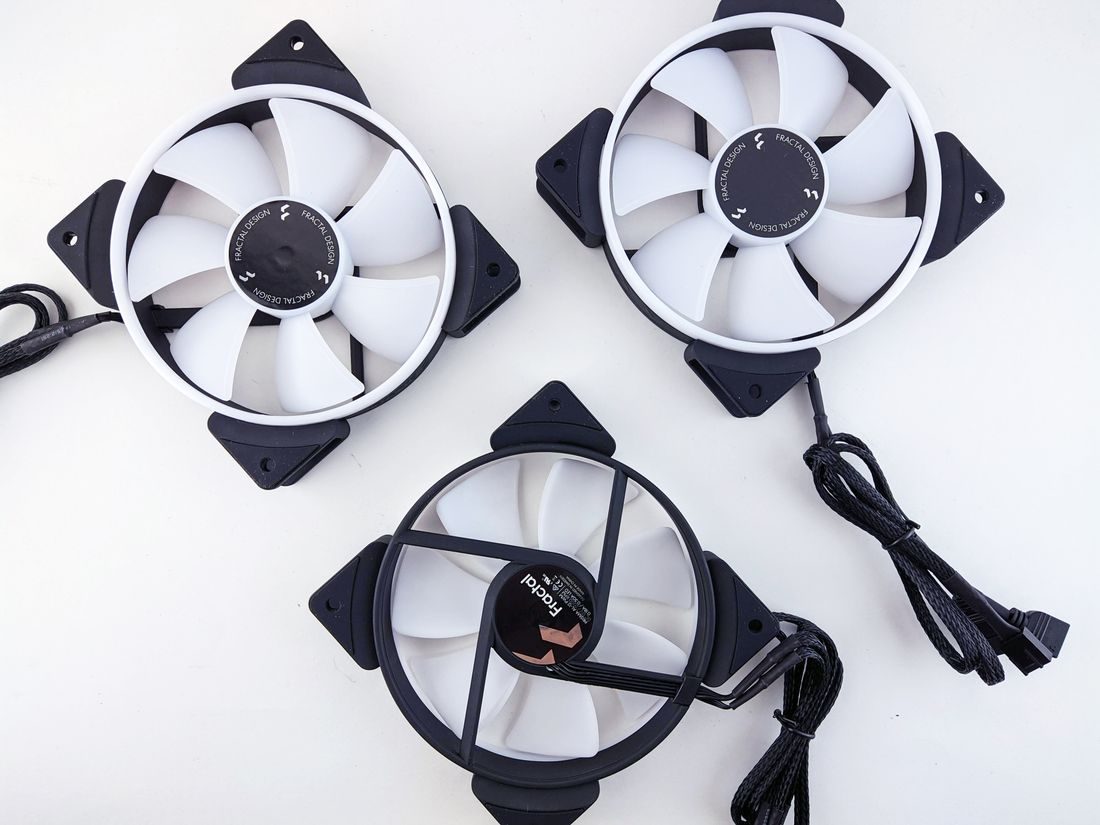
Plan storage and cable routes around each device’s airflow requirements, checking the working arrangement rather than assuming a compact shelf is suitable for powered equipment.
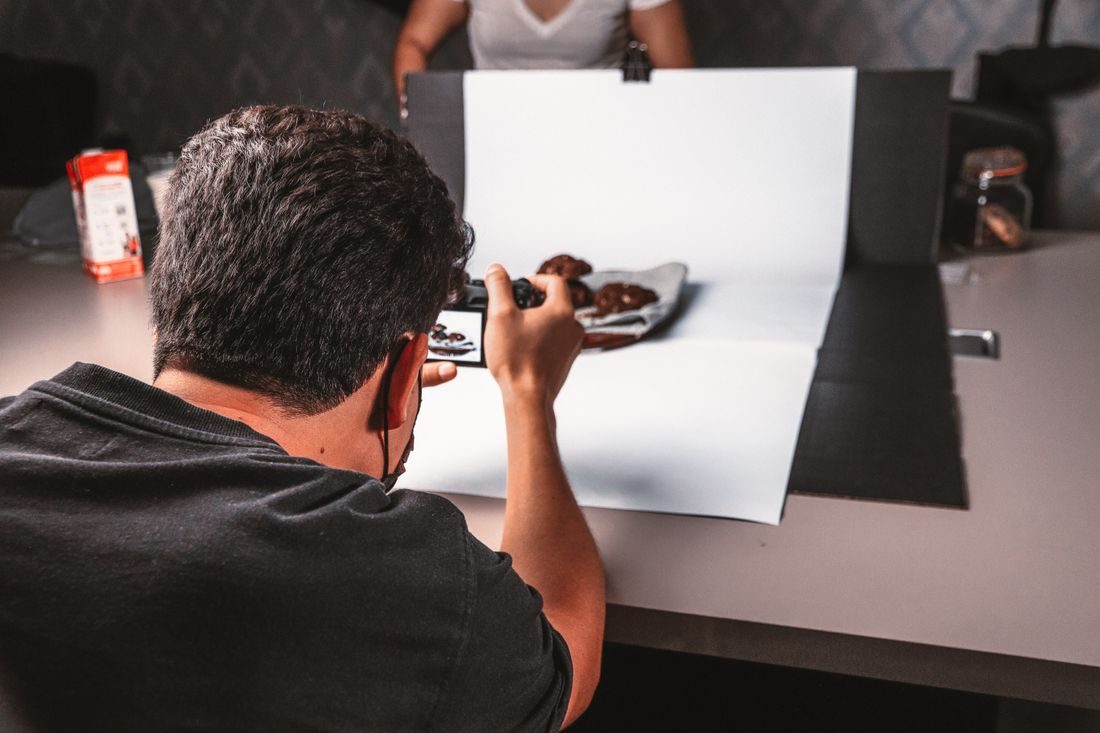
Arrange a stable surface, repeatable camera position, and manageable light so a small series of product photographs can share a coherent appearance without elaborate equipment.
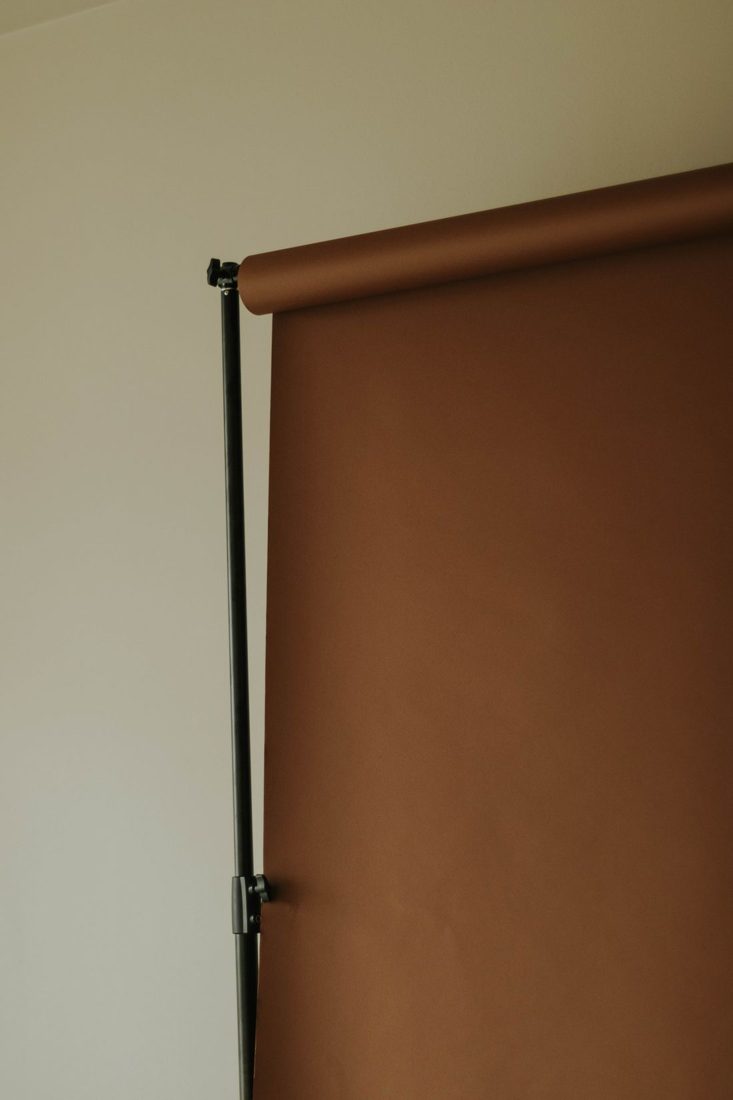
Plan a backdrop around the frame, choose a workable surface and support, and test storage so repeated use does not introduce bends or distracting marks.
Give the microphone, script, and noisy office tasks distinct places so a small recording corner can be prepared quickly without disrupting the rest of the workday.
Review supports, connections, power arrangements, and the working area before recording, using the equipment’s own instructions and setting questionable items aside for appropriate attention.