Photography
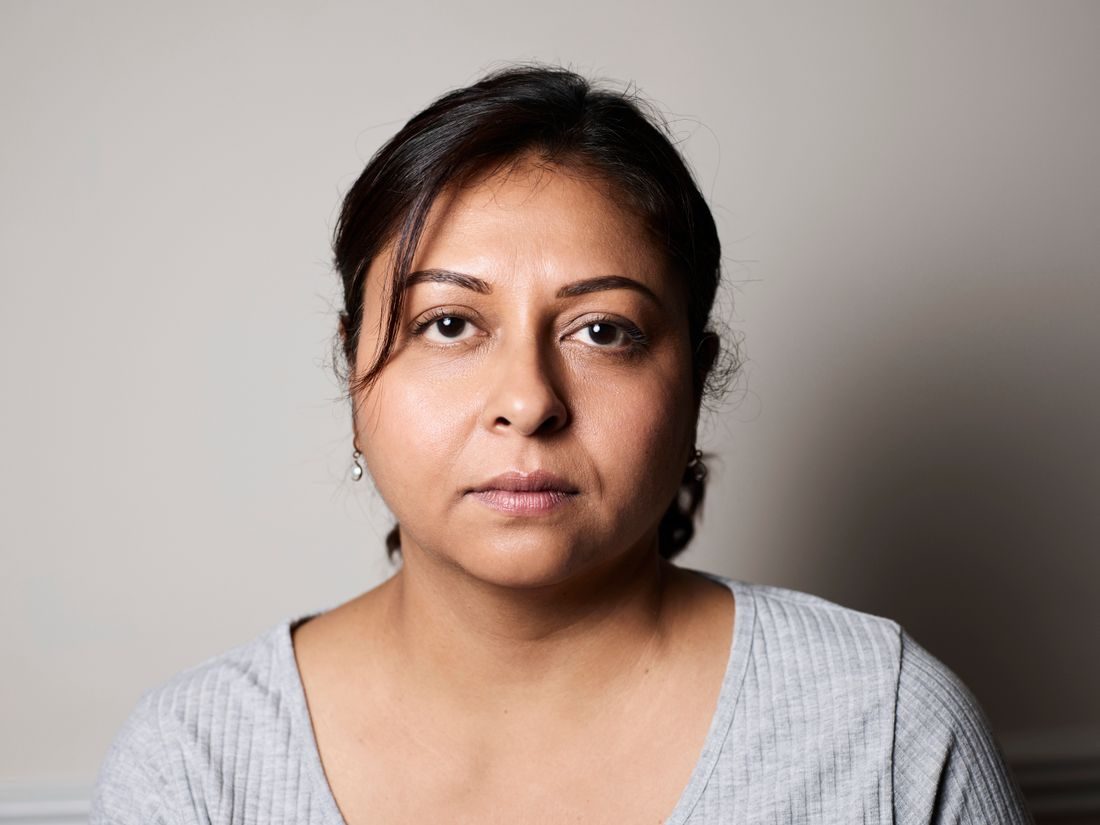
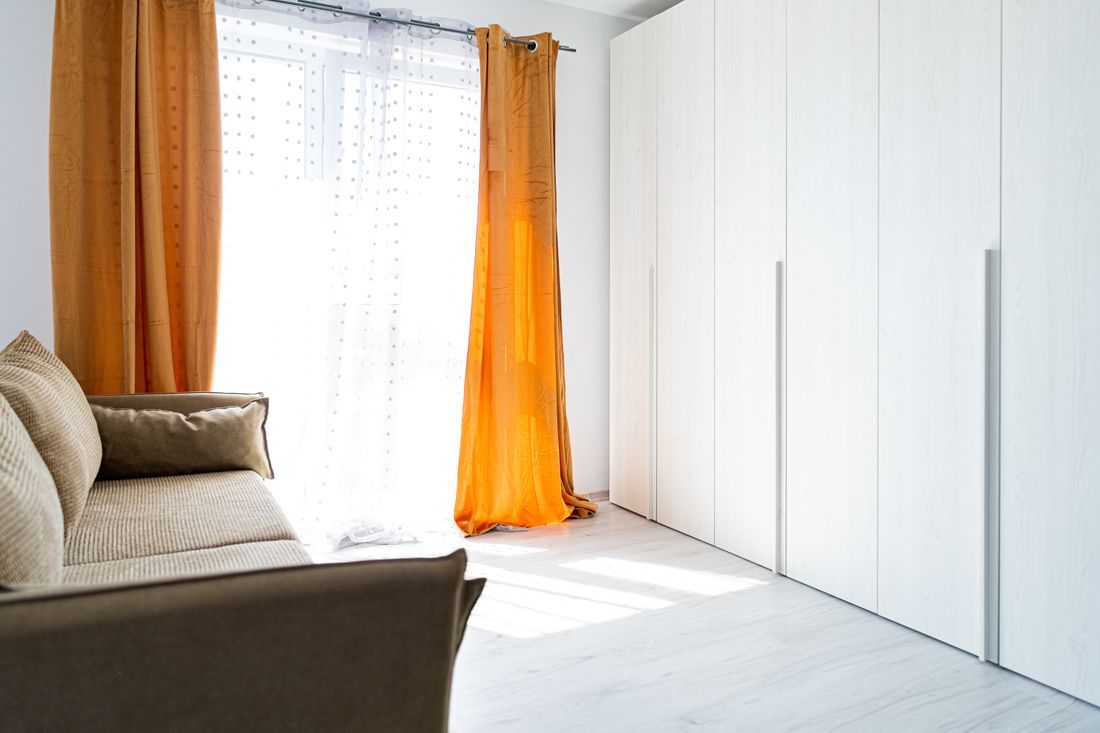
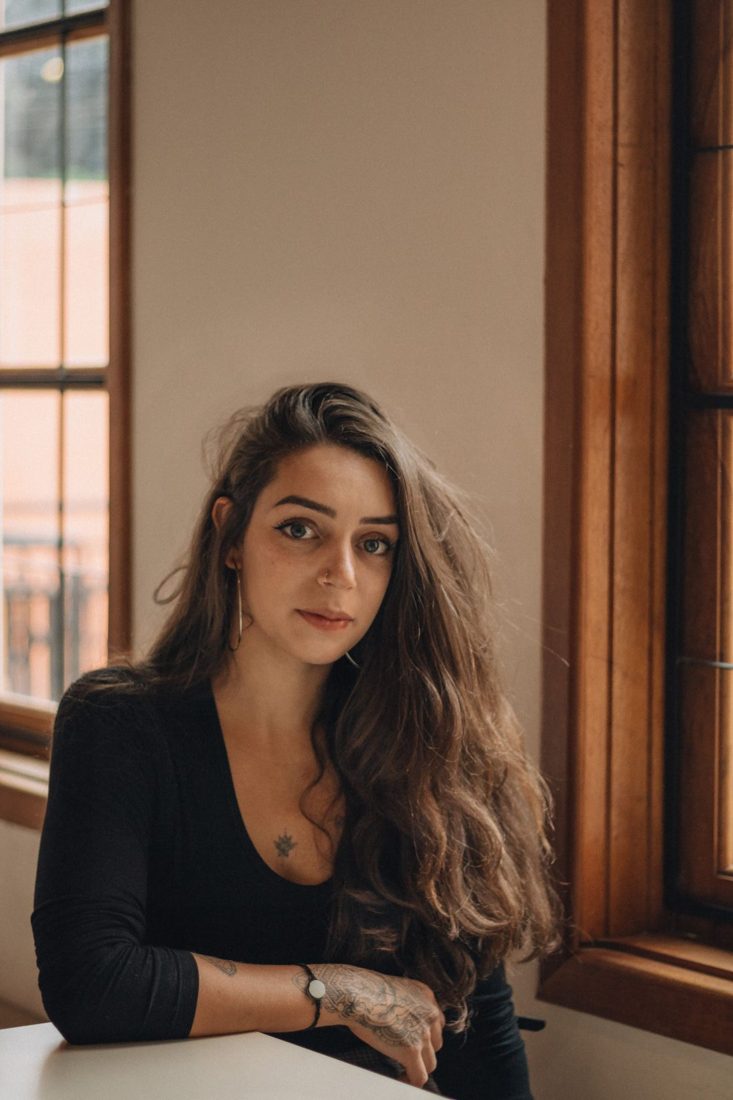
Use window light for a natural portrait
Make a comfortable indoor portrait with one window, a simple background and small changes in position that you can judge before taking the photograph.
Search for a task, a tool or a problem. Pick one thing to try in your next project.
122 guides found
No guides match that search. Try a shorter phrase or choose another topic.
Make a comfortable indoor portrait with one window, a simple background and small changes in position that you can judge before taking the photograph.
Keep useful detail in a window by choosing what matters in the scene, adjusting exposure deliberately and reducing the contrast before relying on an edit.
Use small changes in camera position, subject placement and background detail to keep attention on a portrait without stripping away its sense of place.
Control what a glossy object reflects by changing the surrounding surfaces and light position before trying to remove bright patches during editing.
Improve close-up clarity by respecting focusing distance, choosing the most important surface and stabilising both camera and object before changing equipment.
Use a window, a sensible camera angle and restrained styling to show the texture and character of food without filling the frame with unrelated props.
Build a product series that makes size differences understandable by fixing camera position, using a repeatable framing rule and including honest scale information.
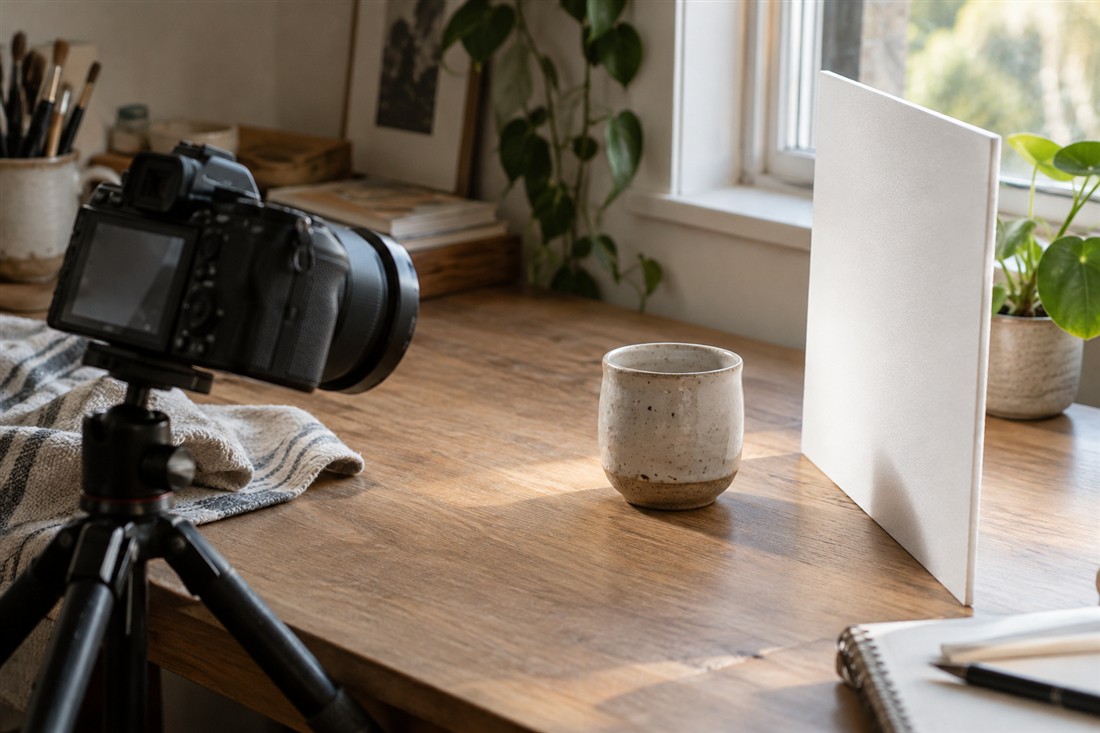
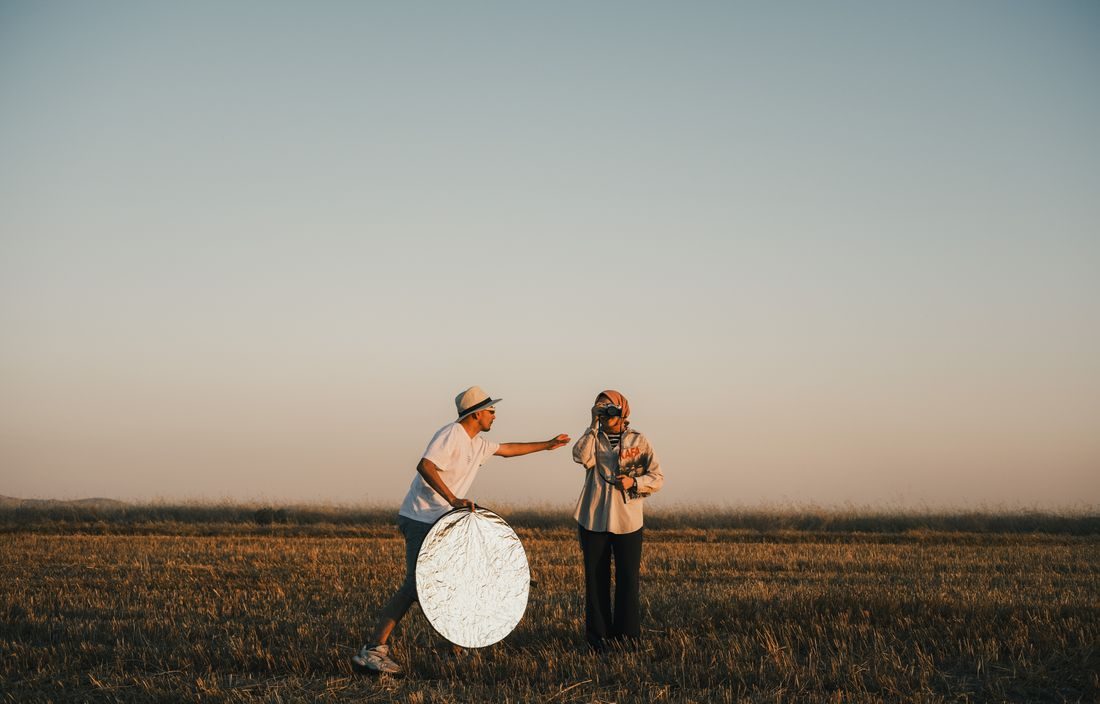
Reflect some existing light into a product’s shaded side with a simple white card, then adjust distance and angle by comparing the actual result.
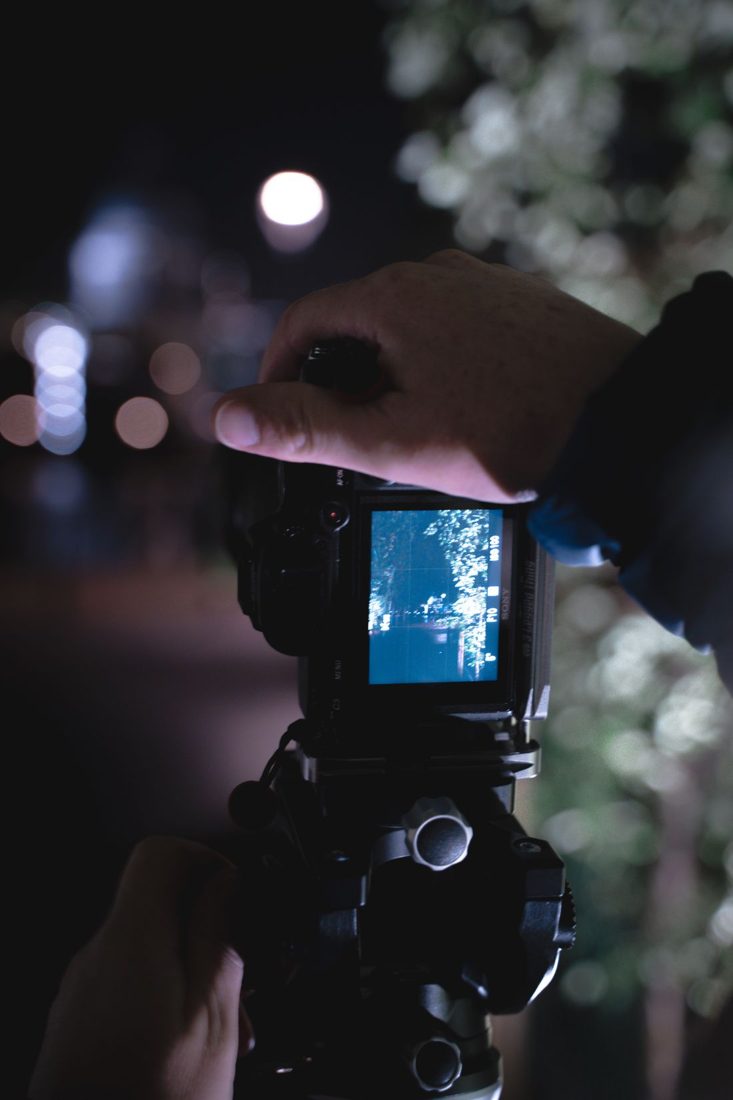
Diagnose camera movement and subject movement separately, then improve support, light and exposure choices before assuming that a dim scene cannot produce a clear photograph.
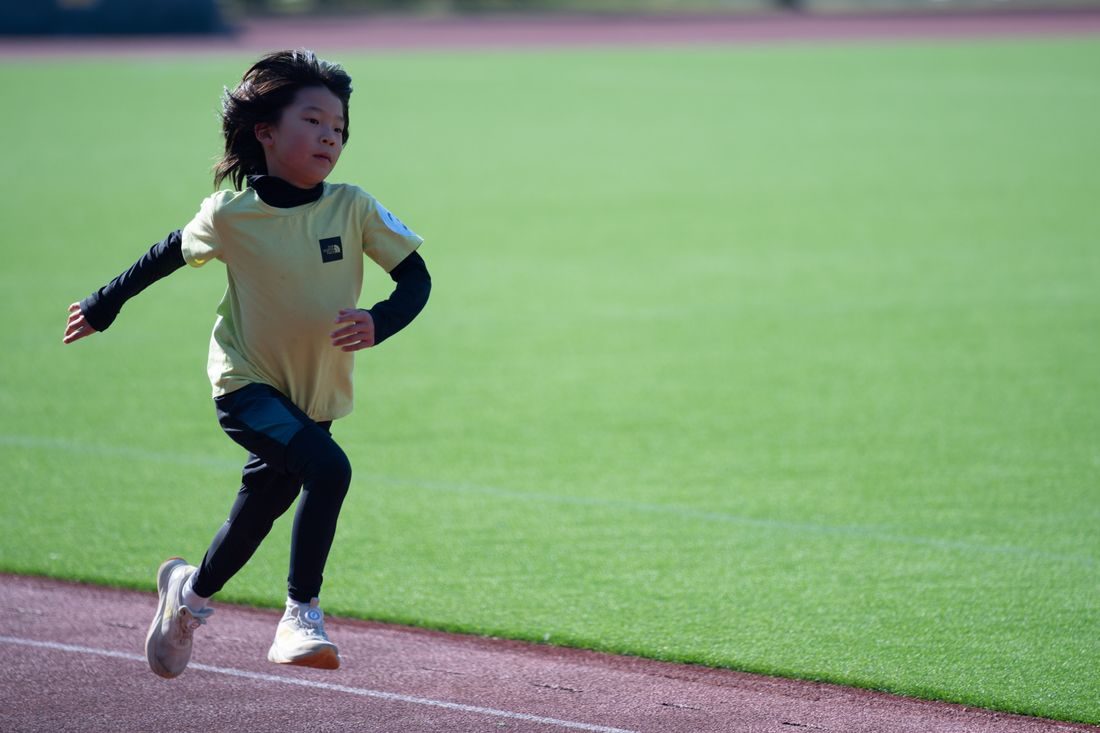
Start with the kind of movement you want to show, use a practical shutter-speed test and adjust as the activity changes rather than chasing one fixed setting.
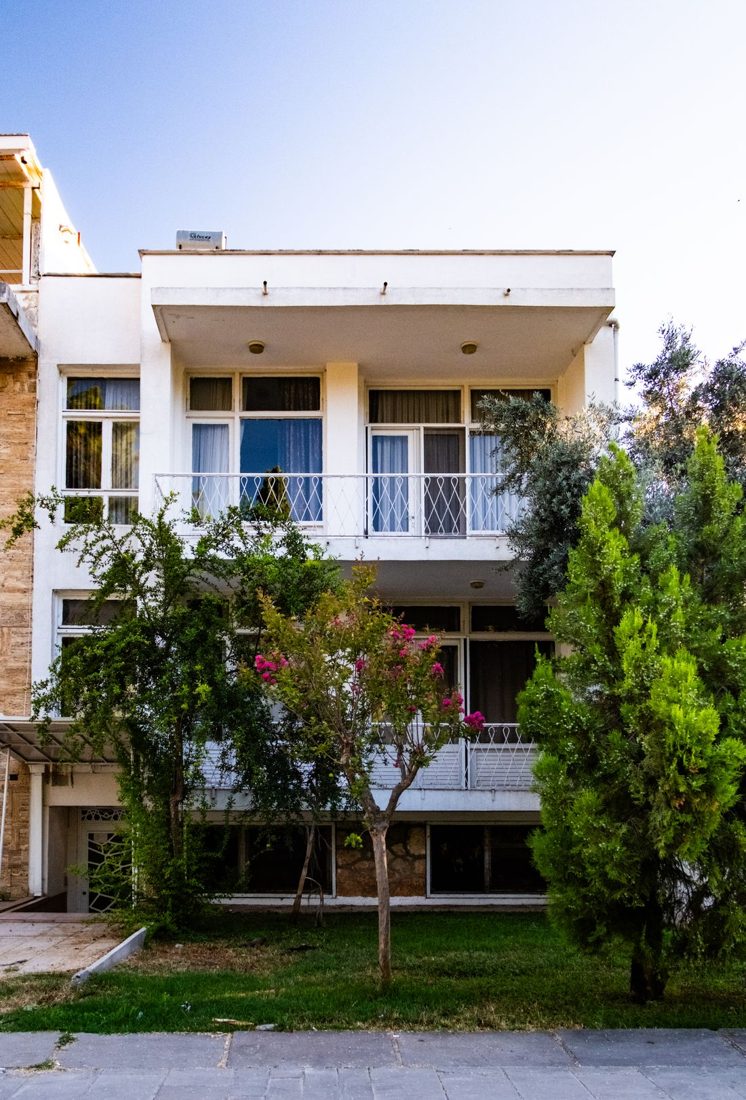
Find a viewpoint that explains a building’s overall form, check the edges deliberately and leave room for any later perspective correction or alternate crop.
Show a compact interior clearly by choosing an honest viewpoint, keeping proportions believable and including the features a viewer needs to understand the space.
Use a real horizon or a trustworthy level reference, allow for uneven foregrounds and make small corrections without cutting away important parts of the landscape.
Choose a foreground that leads into the scene, keep overlaps clear and balance nearby detail with the distant feature that gives the photograph its purpose.
Simplify a crowded street photograph by choosing a clear subject, controlling overlaps and waiting for a useful arrangement instead of trying to include everything.
Plan details that explain an event’s people, setting and activity, then photograph them with enough context to remain useful beside the wider coverage.
Arrange people in readable rows, check the view from the actual camera position and make a short series that accounts for expressions as well as focus.
Control the lighting, keep a useful reference and compare products as a series so colour changes do not come from an inconsistent shooting or editing process.
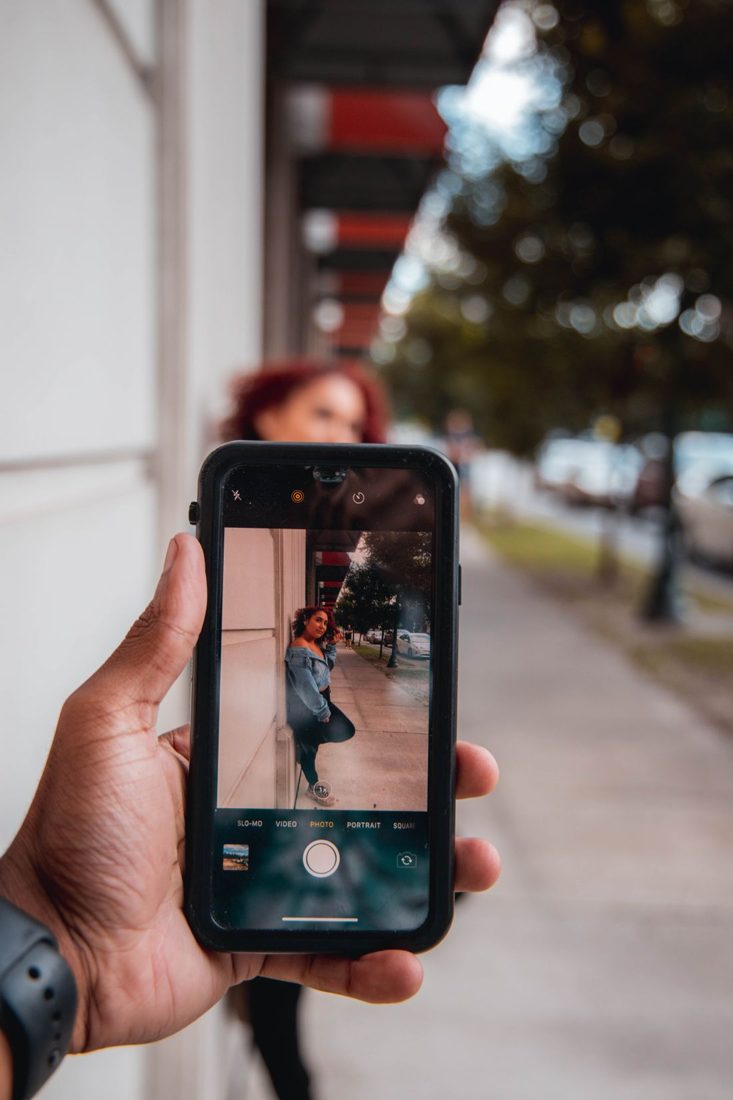
Use background blur when it helps a subject stand out, but compare edge handling and context before making portrait mode your default for every photograph.
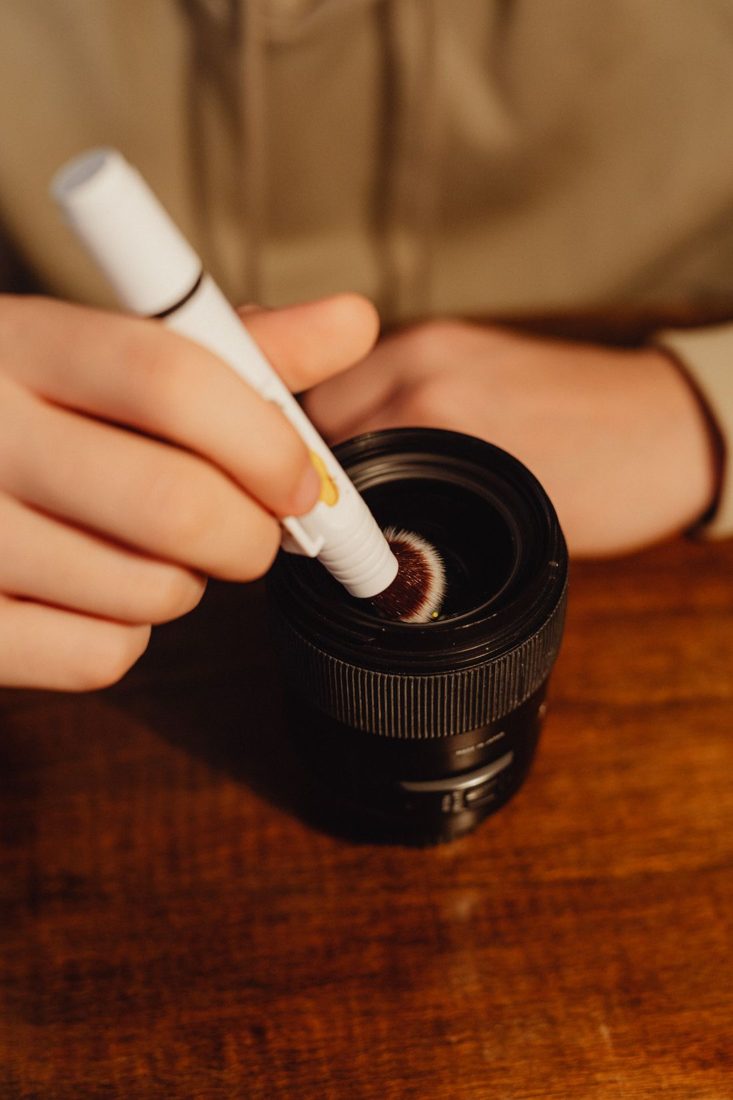
Remove loose particles before wiping, use materials appropriate to the particular lens and stop when a mark needs more than routine external cleaning.
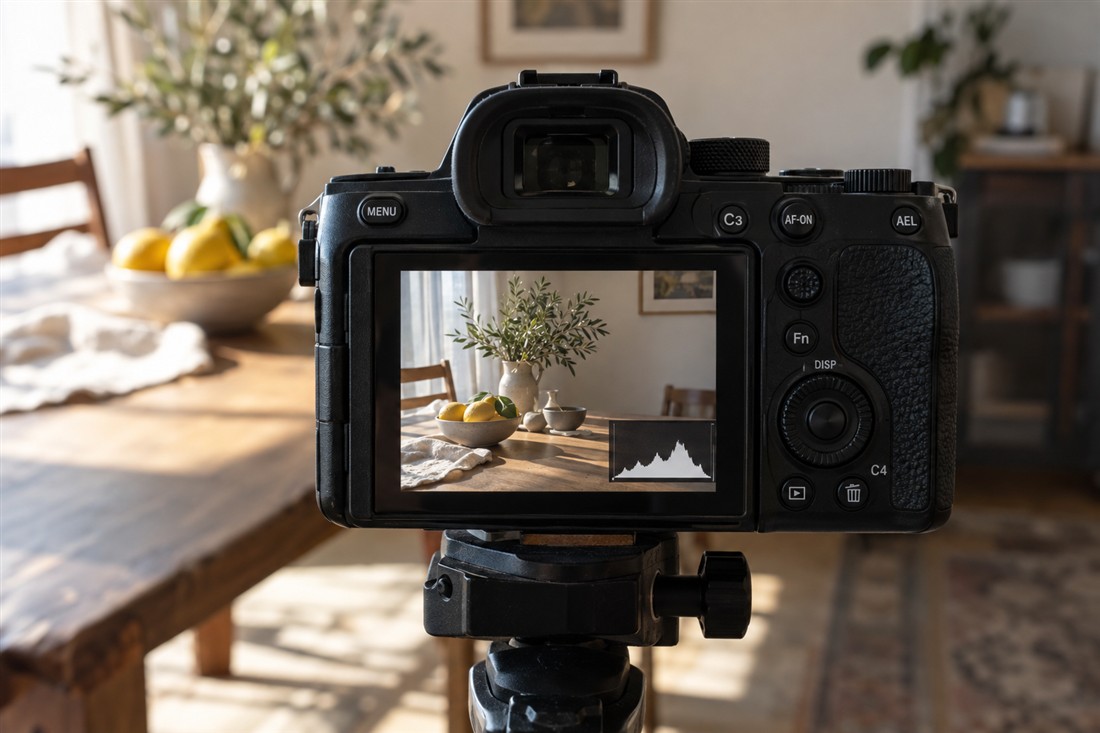
Use a histogram alongside the photograph to spot potential clipping, identify which bright areas matter and make a deliberate exposure adjustment before leaving the scene.
Match your capture format to editing time, delivery needs and storage rather than assuming that the file with the most flexibility always suits the assignment.
Build a focused portfolio by choosing the audience, removing redundant images and testing whether the sequence demonstrates the work you want to be asked to do.
Protect the main subject across different aspect ratios by working from an original, making separate intentional crops and checking the exported images at their actual display size.
Make a careful digital copy by keeping the print flat, controlling reflections and preserving an untouched scan before adjusting colour, damage or framing.
Choose a small promise, show the evidence that supports it and remove competing ideas before a short video becomes a rushed version of a longer one.
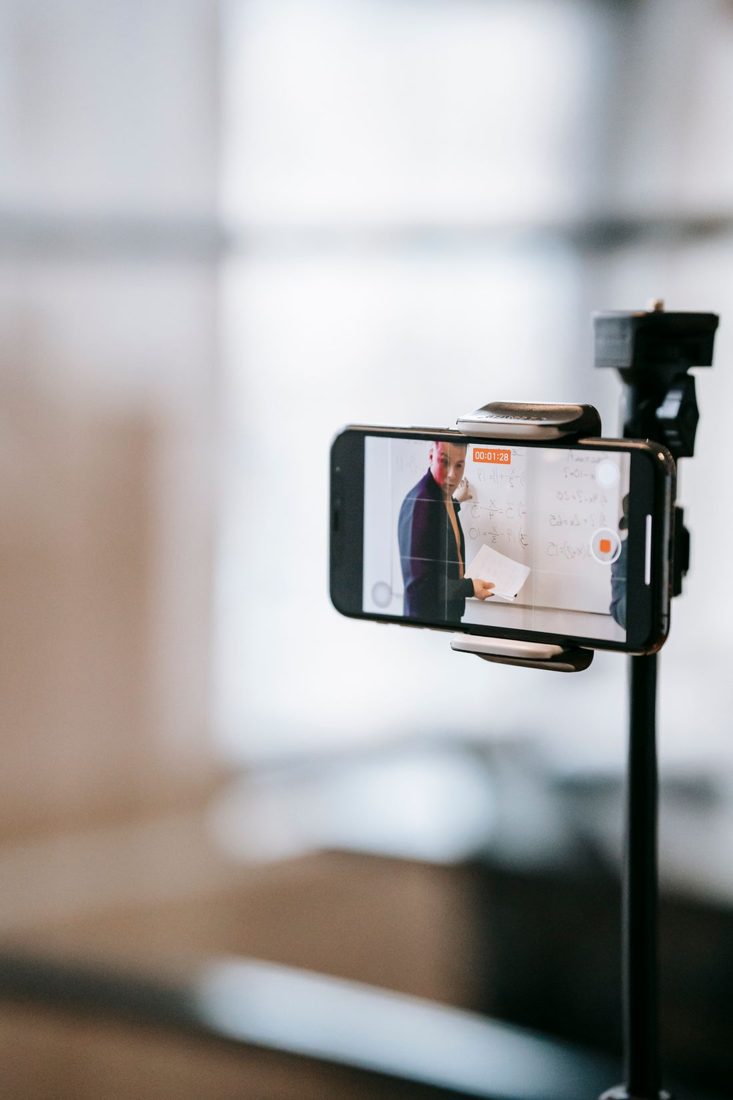
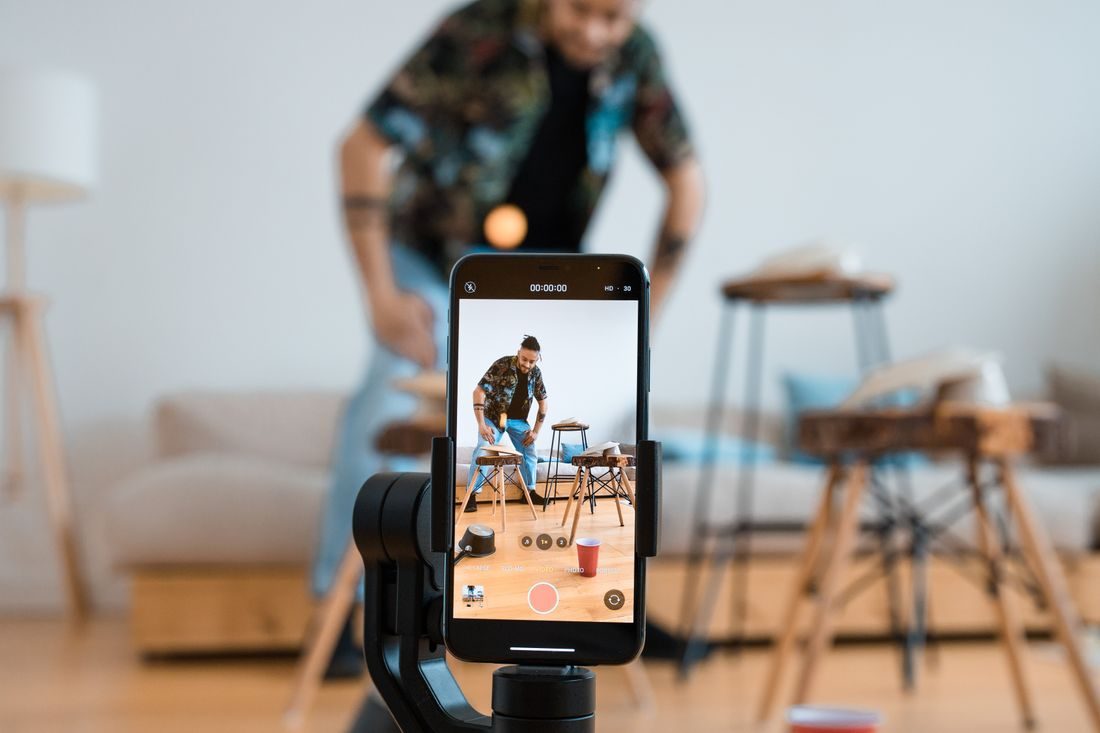
Arrange the phone, light and speaking position so a simple direct-to-camera recording remains clear, comfortable and easy to repeat when a sentence needs another take.
Reduce unnecessary movement with a balanced stance, shorter shots and deliberate camera moves, while recognising the point where a support is the more useful choice.
Use eye height as a starting point, then adjust the camera and eyeline together so an interview feels comfortable and the speaker remains naturally framed.
Choose a readable shared frame, plan sound for both speakers and collect honest cutaways so a single-camera conversation remains coherent in the edit.
Cover a small action with a wide view, useful details and a clear finish so your extra footage can become a sequence rather than a collection of unrelated clips.
Start with the delivery requirements, separate normal-speed footage from slow motion and test your choice before committing an entire shoot.
Identify the problem light, test a compatible shutter setting and review the recording before you spend a session filming visible bands or pulsing brightness.
Make the movement predictable, give the camera a clear subject and review a real take at full size before assuming autofocus has followed correctly.
Arrange the camera, ingredients and working hands so viewers can see the decisive cooking steps while the setup remains practical to use.
Plan the overhead frame around the work area, use a mount intended for the position and test stability before placing tools or valuable objects underneath.
Plan caption space with the presenter and demonstration in view, then test the actual layout so text and platform controls do not cover essential information.
Preserve screen direction, matching action and useful differences in framing so two views feel like parts of the same moment rather than unrelated recordings.
Shape a conversation around meaning and pace while retaining the small breaths, reactions and thinking time that make the speakers sound like people.
Cover a necessary visual jump with a relevant additional view while preserving the spoken meaning, timing and factual relationship of the underlying scene.
Use cuts, fades and dissolves for a clear editorial reason, then check whether the transition explains a change or merely calls attention to the software.
Compare adjacent clips with a useful reference, correct basic brightness and colour differences first and preserve genuine changes in the lighting and location.
Slow an action when viewers need to inspect it, prepare suitable footage before recording and keep real-time context so the movement remains understandable.
Record only the interface area needed for the task, enlarge relevant information before capture and test the finished video on an actual small display.
Divide a software task into meaningful actions, prepare a repeatable starting state and leave enough room around each take for a coherent edit.
Keep the relationship between width and height intact, choose cropping or padding deliberately and inspect the exported file rather than trusting only the editing preview.
Review the exported file for picture, sound, text and completeness, then verify the actual handoff so a correct timeline does not become an unusable delivery.
Use a short rehearsal recording to test framing, sound and the presenter’s movement, then turn what you learn into a manageable plan for the live session.
Choose one complete idea, retain the context that makes it accurate and build the short clip around meaning rather than the most dramatic isolated sentence.
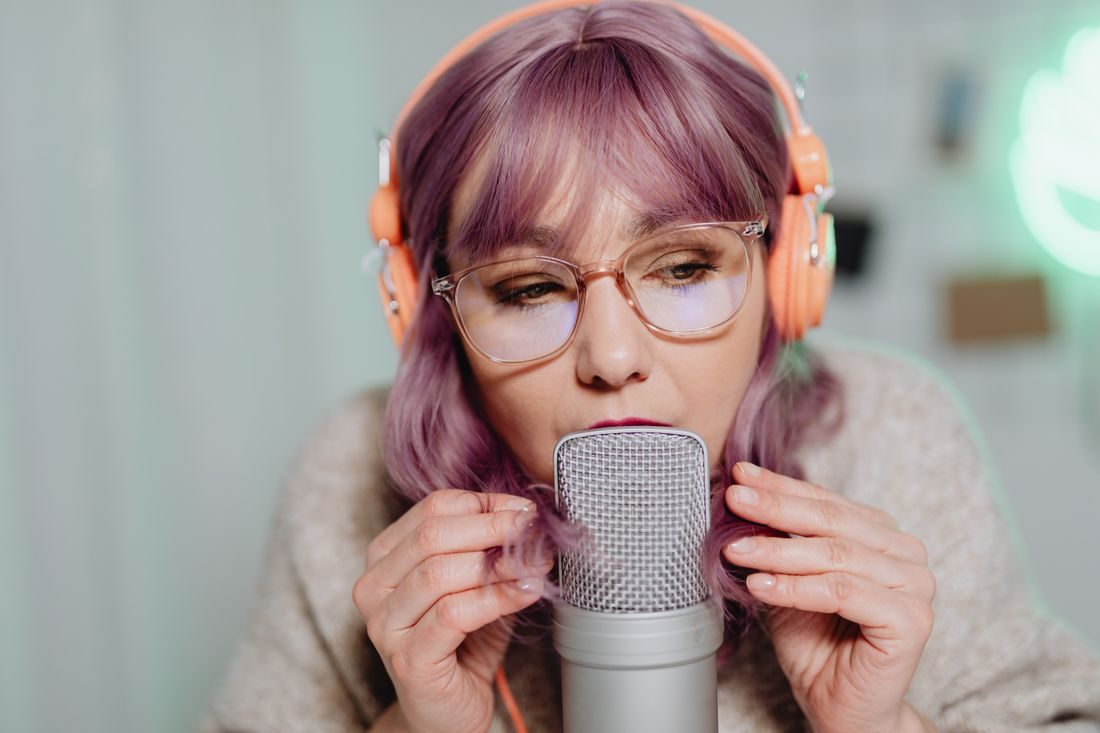
Find the microphone’s working side, compare a few positions, and leave room for natural movement so spoken recordings sound clearer without relying on heavy processing.
Keep fabric, jewellery and cable movement away from the microphone, then record the speaker’s actual gestures before trusting an apparently neat mounting position.
Compare actual room recordings, listen for steady and intermittent noise and choose a practical space where you can maintain the same conditions throughout the session.
Test the speaker’s louder phrases, adjust the actual input gain and leave room for natural variation instead of judging recording level from quiet speech alone.
Monitor the signal the recorder actually receives, listen for specific faults and confirm a saved test so a moving meter does not become your only evidence.
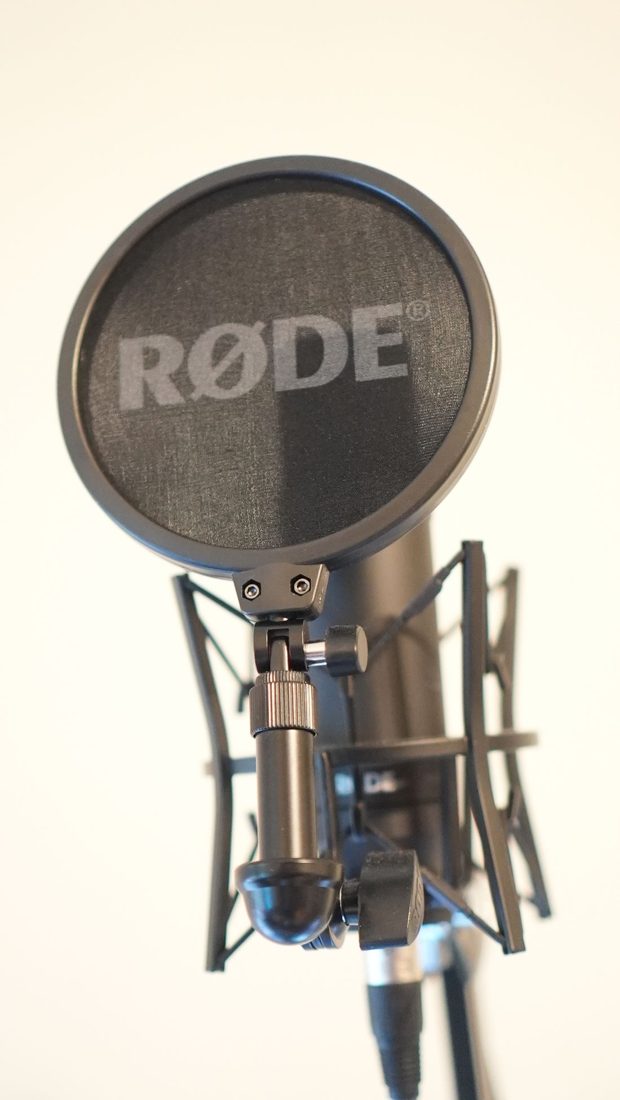
Reduce bursts of air at the microphone through placement and appropriate protection, then compare clear speech before applying heavy processing to every word.
Arrange the microphone and script for a comfortable posture, rehearse natural movements and maintain a useful working distance without turning the performance into rigid stillness.
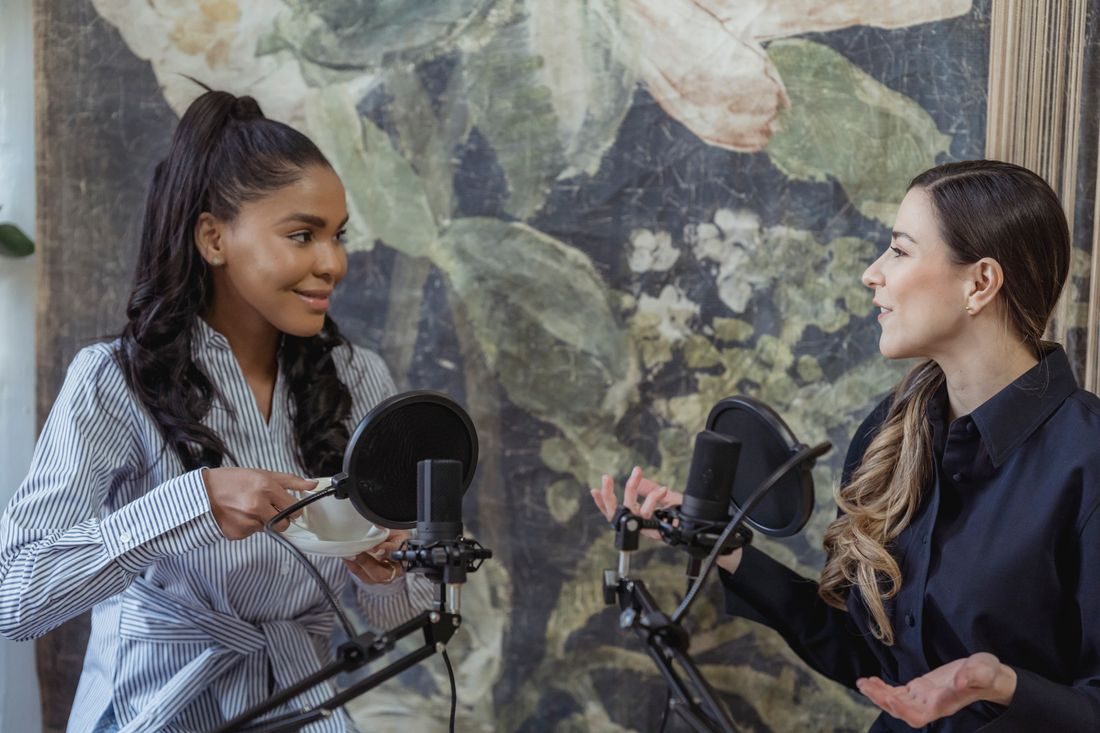
Choose a microphone arrangement that fits the conversation, prioritise each voice’s clarity and test both speakers at their real seats before recording the full session.
Plan independent recordings at each end, rehearse the actual devices and agree on a clear file-transfer process so connection problems do not leave the conversation unrecoverable.
Record the room with the dialogue setup unchanged, keep the capture free of deliberate activity and label it clearly for filling small gaps without abrupt silence.
Shorten delays that obstruct an explanation, preserve purposeful breathing and thought, and listen across each join so an efficient edit still sounds like a human voice.
Apply noise reduction gradually, compare at a similar listening level and prioritise understandable natural speech over a perfectly silent gap between sentences.
Smooth an abrupt audio boundary with a small, carefully placed fade while preserving consonants, breaths, and the natural rhythm of the spoken passage.
Build the voice first, introduce music cautiously, and check difficult sentences so the soundtrack supports the explanation without making listeners work harder.
Match spoken clips by listening across their joins, using modest gain adjustments and preserving natural emphasis before applying shared processing to the sequence.
Use short recordings in several positions to distinguish room reflections from equipment problems before spending money on a different microphone for spoken content.
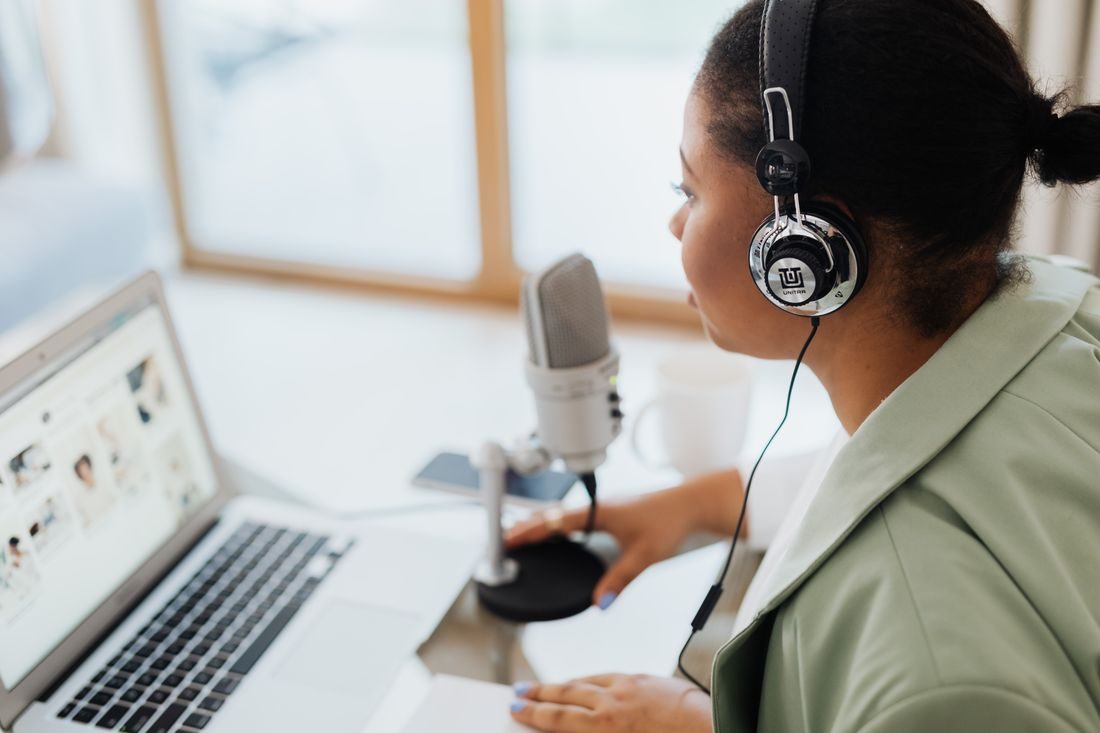
Identify which movements create bumps, separate the microphone from avoidable contact, and test the complete desk arrangement before recording a longer spoken passage.
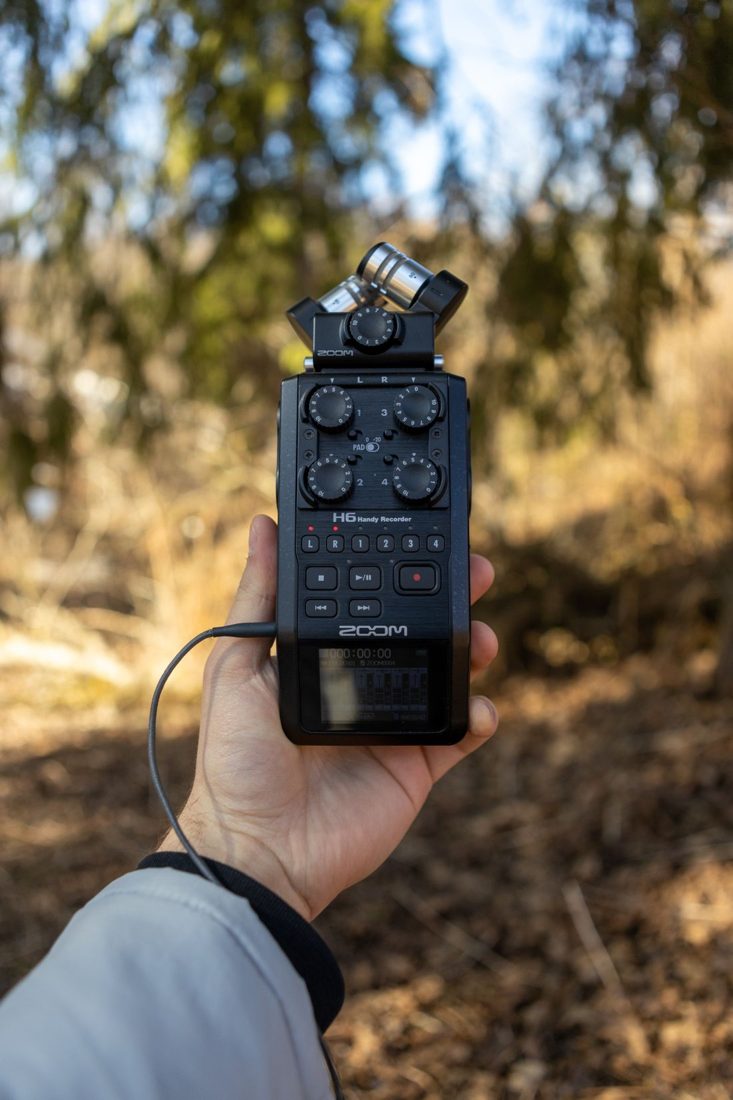
Choose a defined sound scene, support the recorder securely, and capture uninterrupted passages that can support an edit without unwanted bumps from your hands.
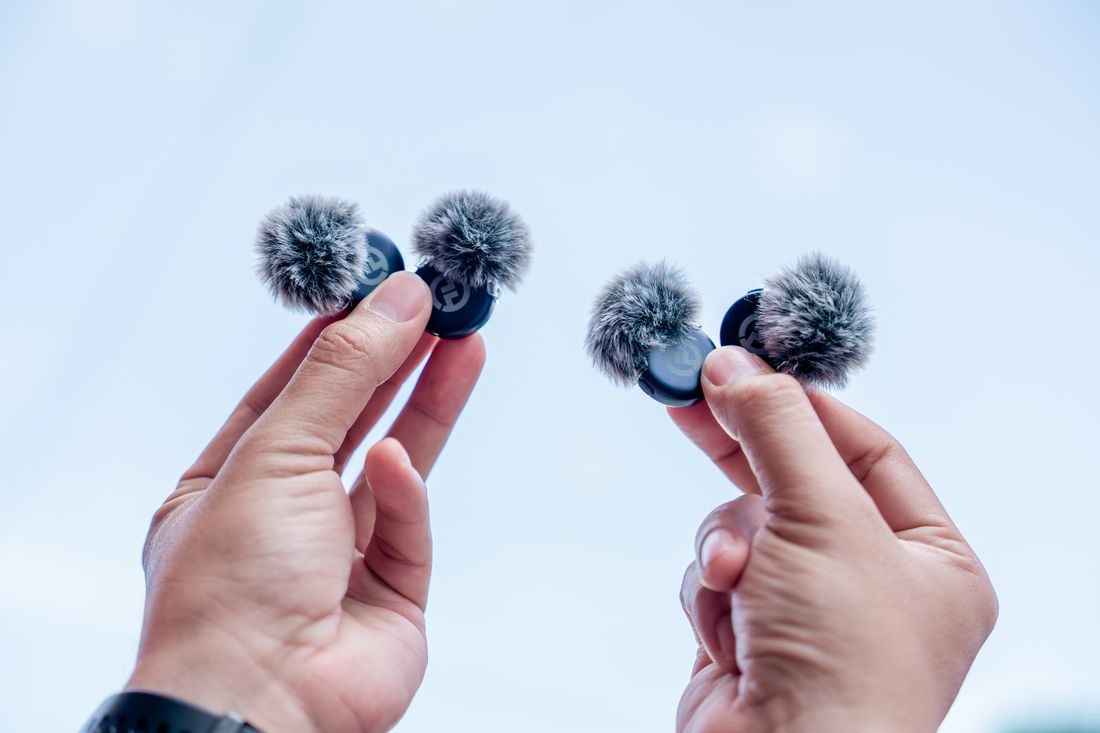
Match wind protection to the microphone, check the complete setup outdoors, and choose a more sheltered position when airflow still overwhelms the spoken recording.
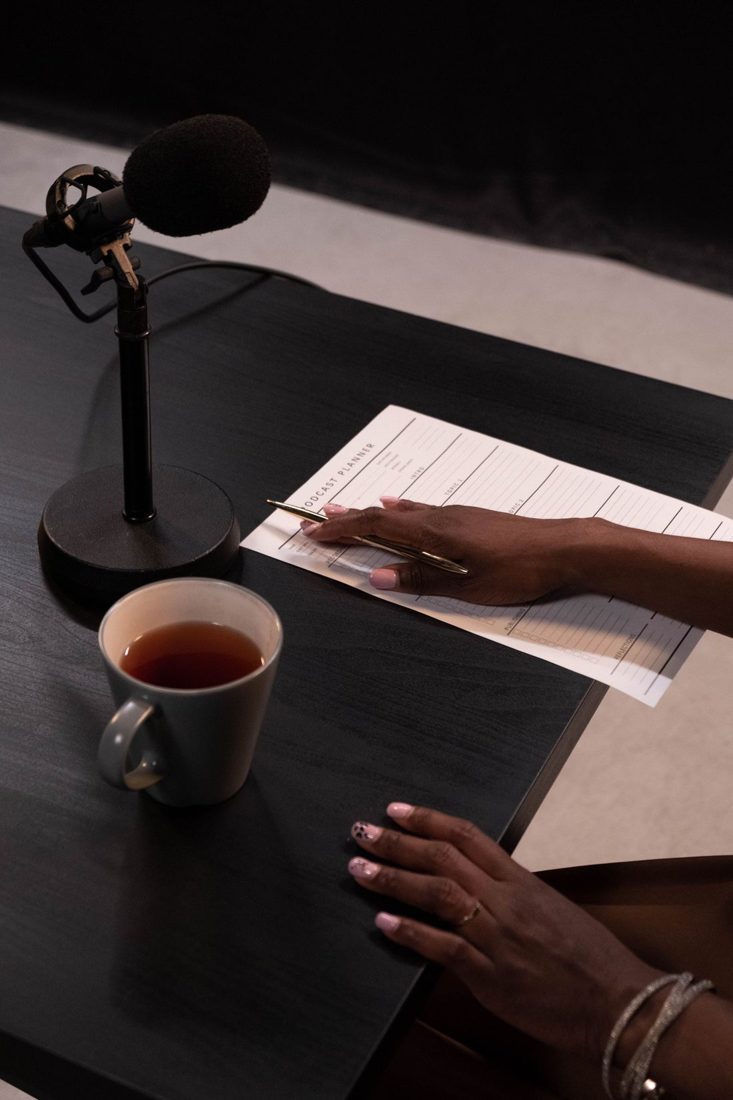
Give a short episode one clear purpose, arrange the supporting material, and rehearse the opening so recording time goes towards a coherent conversation or explanation.
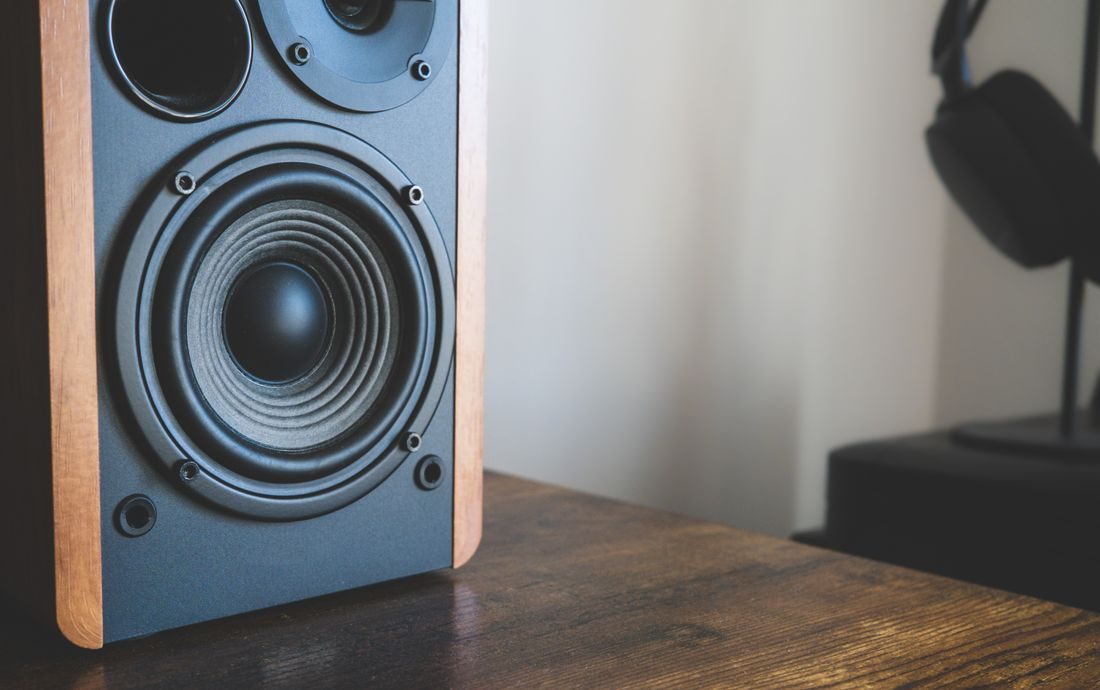
Review the actual delivered file on two ordinary playback systems, separating export faults from listening-device limitations and noting precise moments that need another edit.
Match the channel layout to the source and delivery needs, avoiding silent channels or unnecessary duplicates when recording a single voice with one microphone.
Use simple take names and brief performance notes to make selection faster without changing original recordings or relying on memory after a busy session.
Arrange camera, light, microphone, and everyday desk tools around the actual call, keeping the setup easy to start and comfortable to use in limited space.
Find a useful direction for the main light, judge the result through the camera, and keep the presenter’s normal sightline clear during a recording.
Redirect existing light towards a shadowed area, comparing small changes in reflector angle and distance before deciding whether the scene needs another powered source.
Plan a repeatable camera view, compact equipment positions, and a quick reset so a filming corner can coexist with the room’s everyday activities.
Create visible edges with position, tone, and restrained lighting so a presenter remains distinct against a dark setting without making the whole background bright.
Identify competing light sources, simplify the colour balance, and compare a short recording before committing to a room where daylight changes throughout the session.
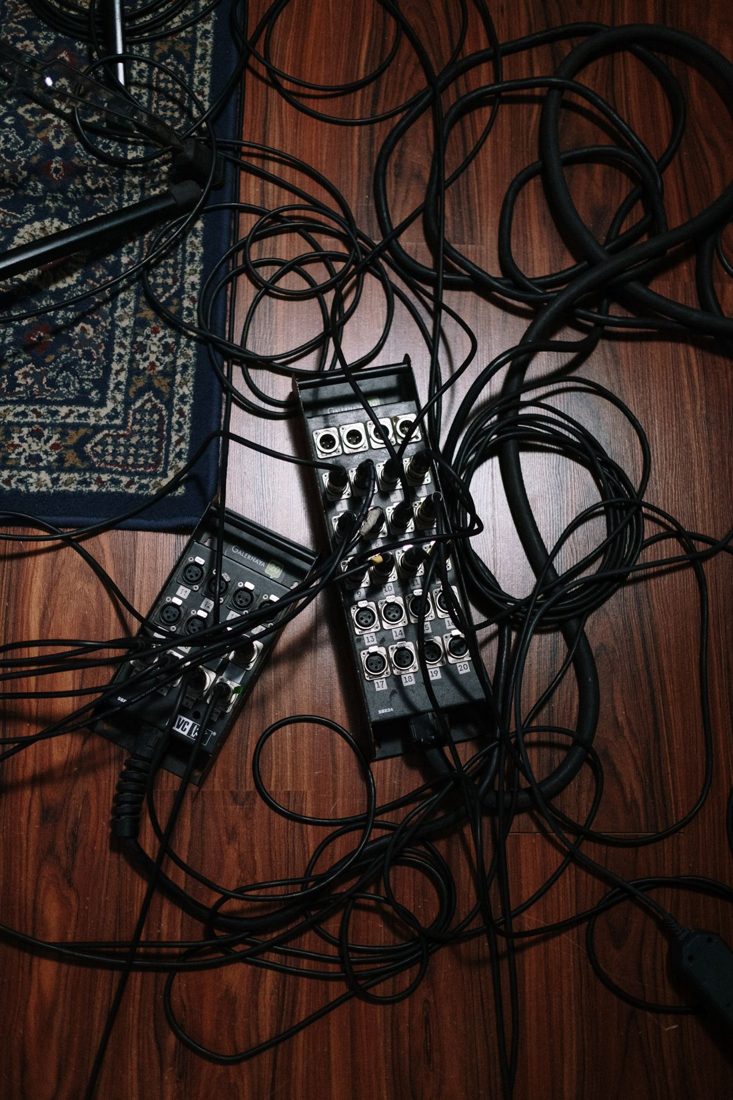
Plan the cable route around people and equipment first, then tidy the visible section without stretching connectors, concealing damaged leads, or blocking essential access.
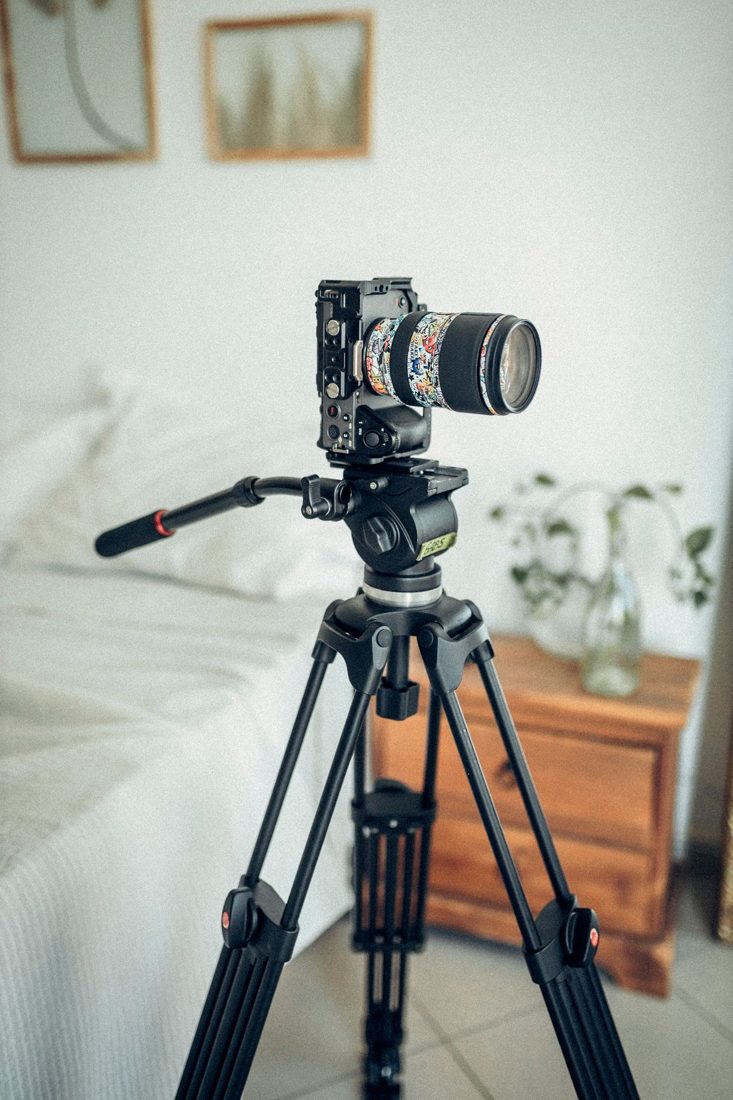
Compare the tripod’s working footprint, complete load, and operating height so it supports the intended shot without taking over the room or blocking movement.
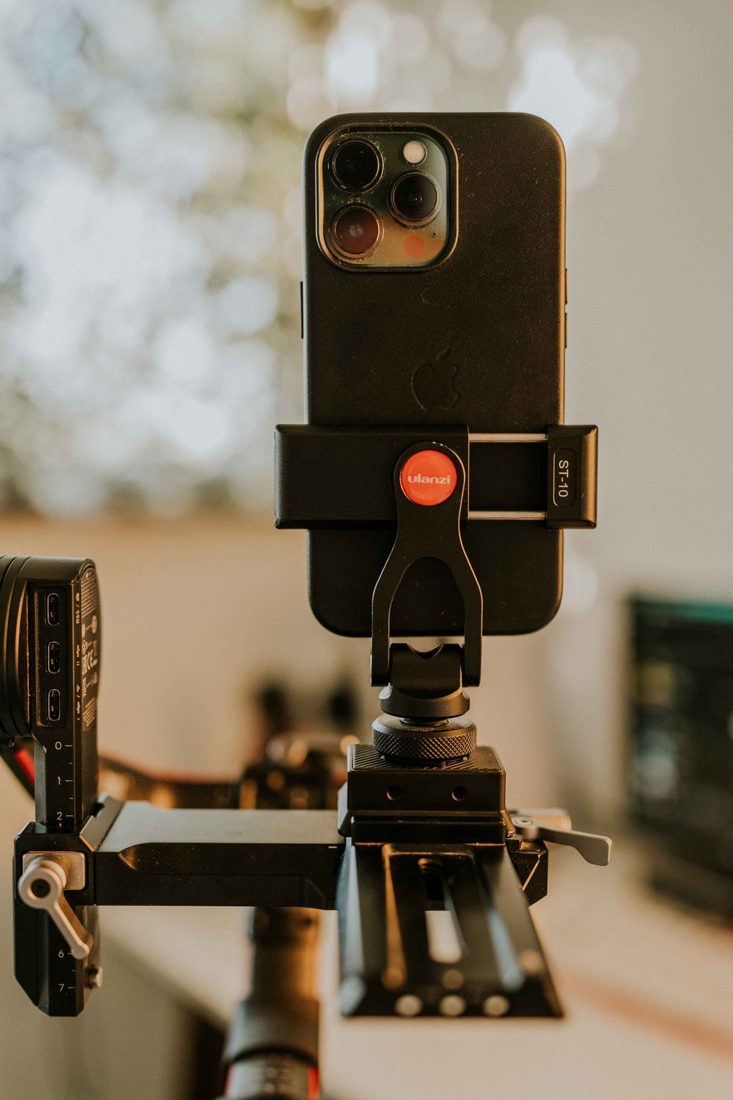
Verify the clamp, phone fit, supporting arm, and table connection as one system before positioning a device over a tabletop recording area.
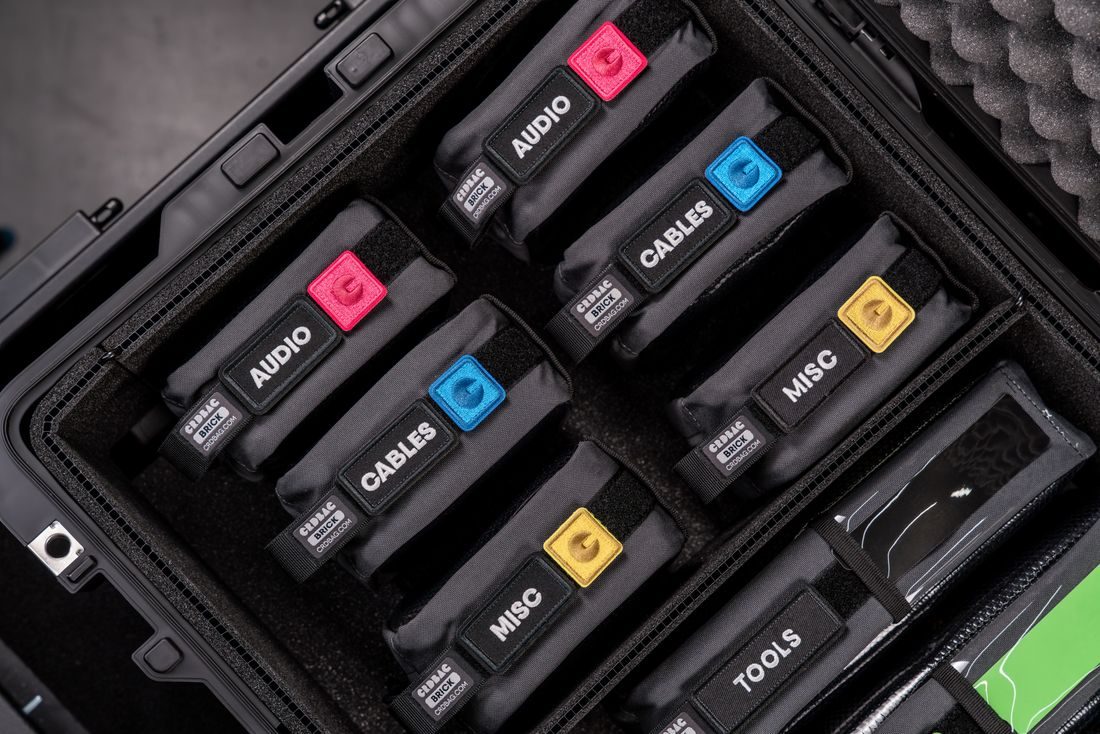
Pack around the planned shots and the route to the location, keeping essential accessories easy to reach without carrying every piece of equipment you own.
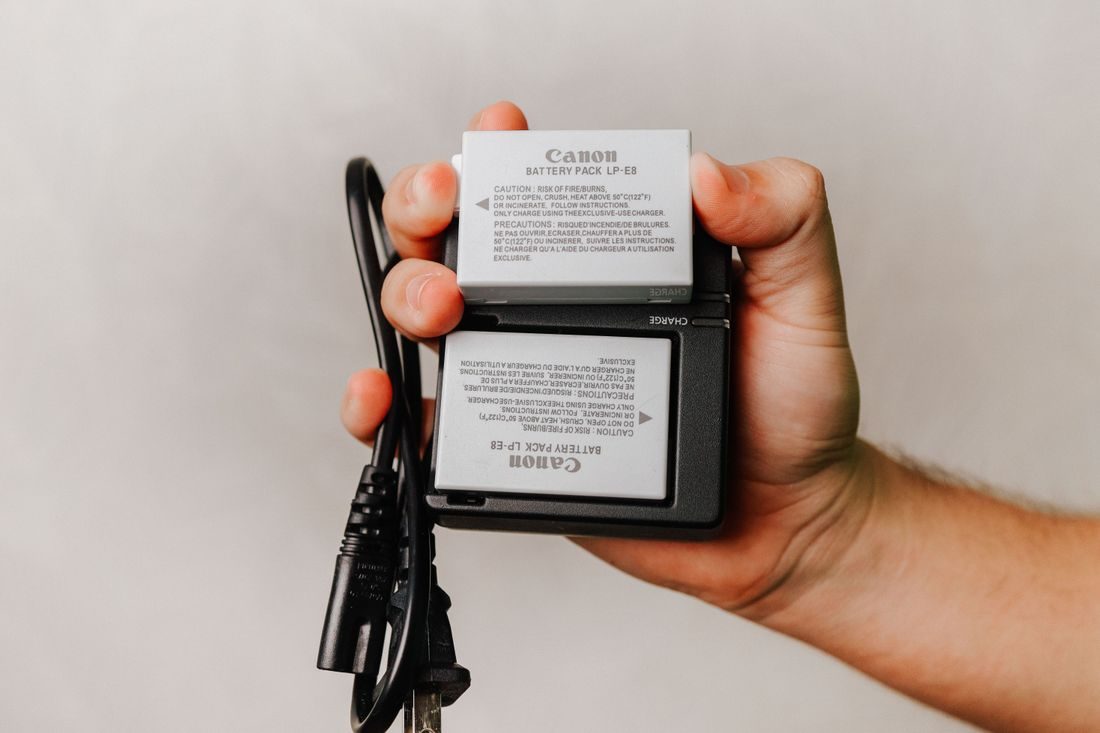
Identify compatible batteries, distinguish ready packs from used ones, and plan charging around the session without relying on uncertain runtime estimates or loose storage.
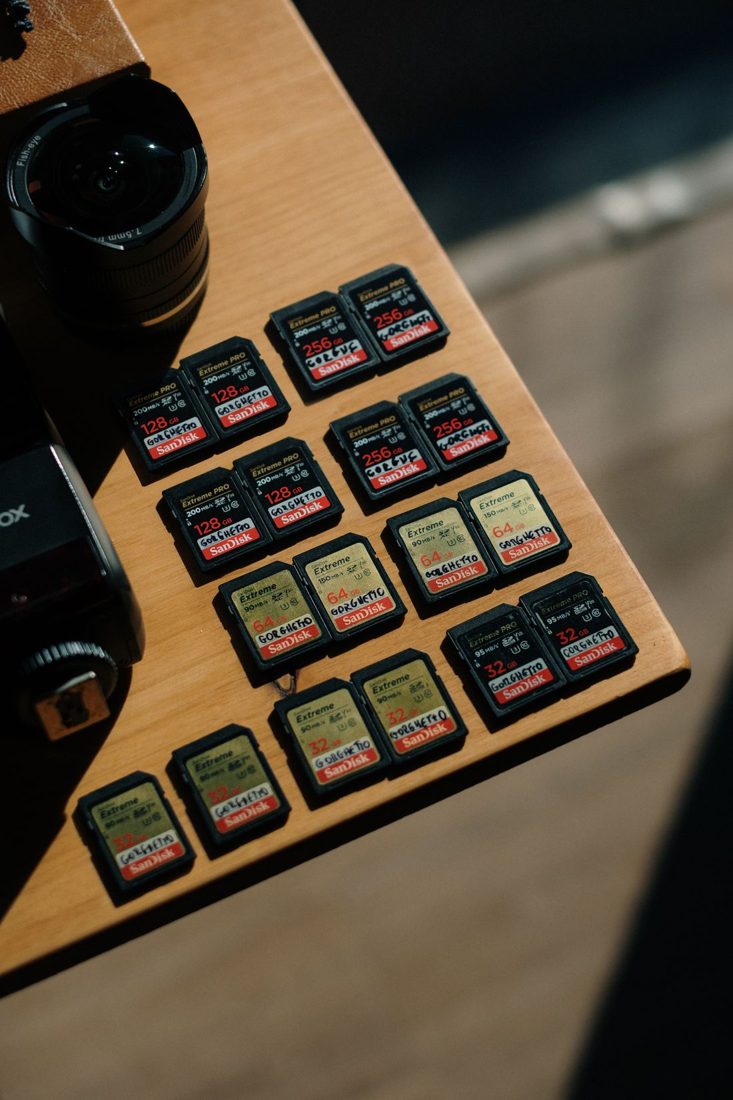
Give each card a stable identity and a clear status, separating captured media from ready cards before recording or formatting another device’s storage.
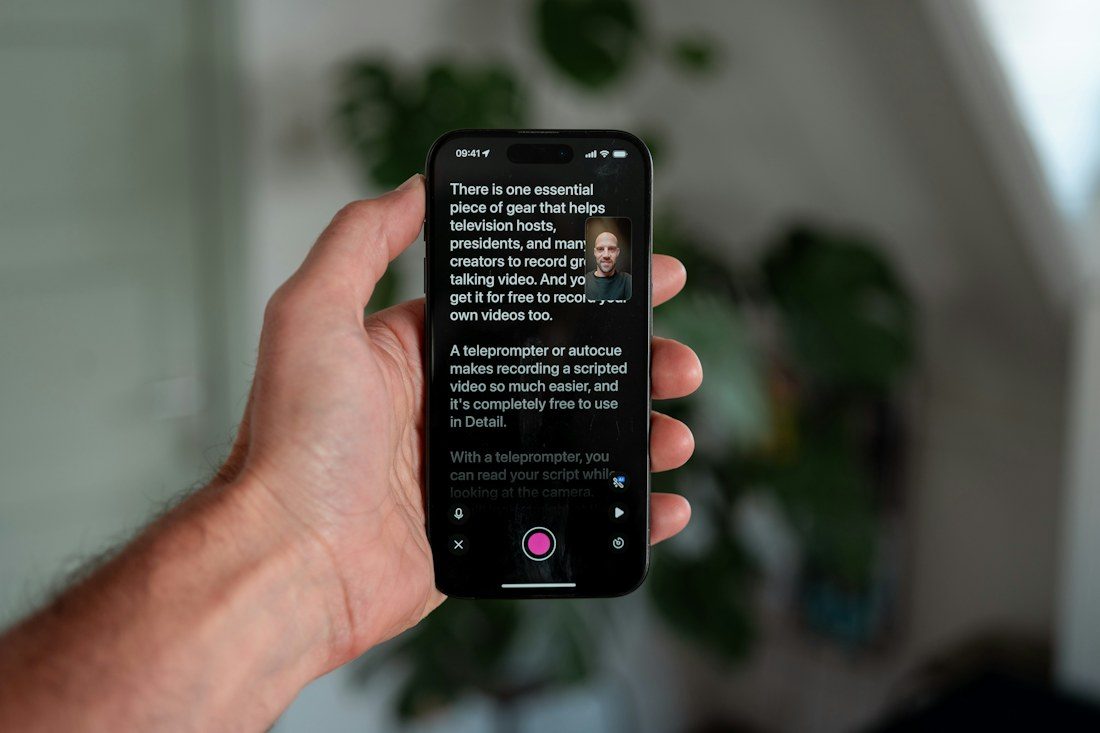
Align the camera and readable script, reduce unnecessary eye movement, and rehearse at a conversational pace so the teleprompter supports rather than dominates the performance.
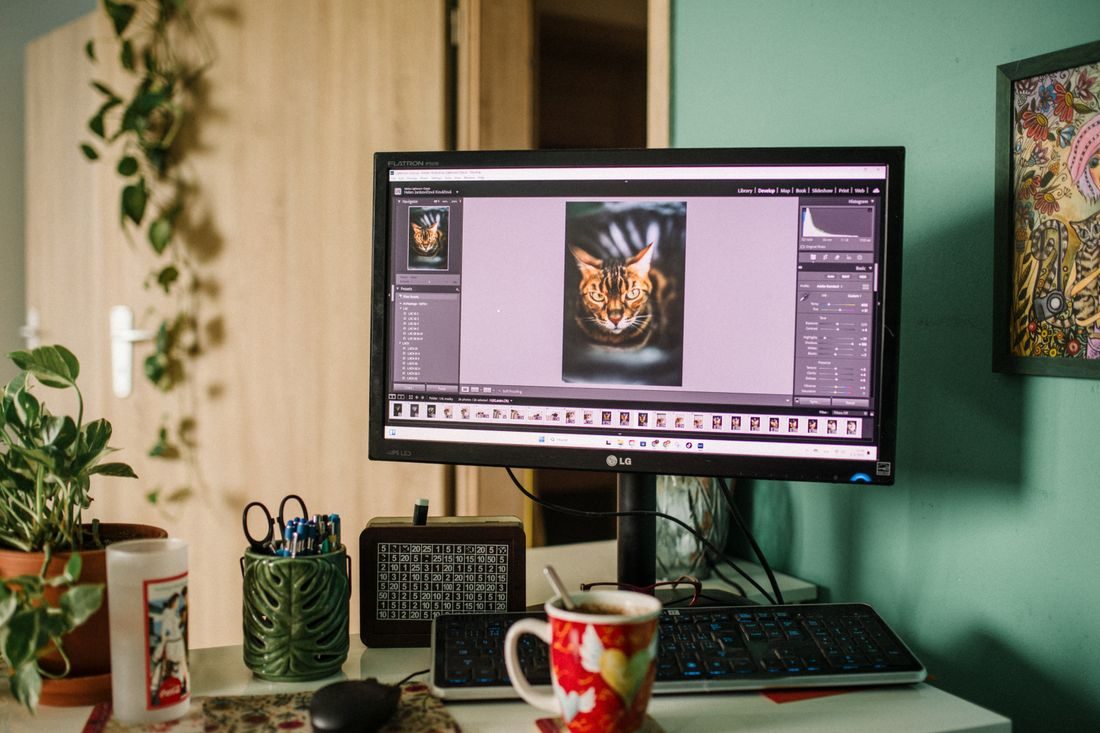
Arrange the display around your working posture and viewing tasks, reducing awkward reaches and reflections while keeping room for the controls you use most.
Compare reversible changes to the room’s surfaces, keeping the microphone and voice consistent so you can hear whether the furnishings improve the recording.
Plan storage and cable routes around each device’s airflow requirements, checking the working arrangement rather than assuming a compact shelf is suitable for powered equipment.
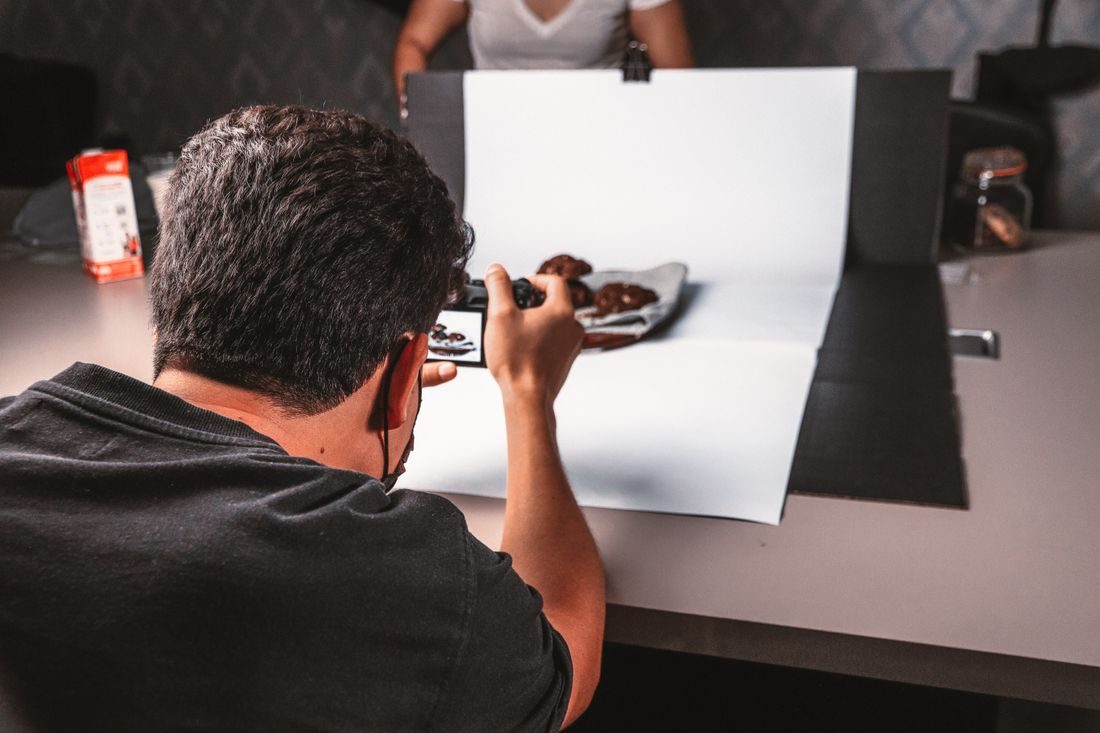
Arrange a stable surface, repeatable camera position, and manageable light so a small series of product photographs can share a coherent appearance without elaborate equipment.
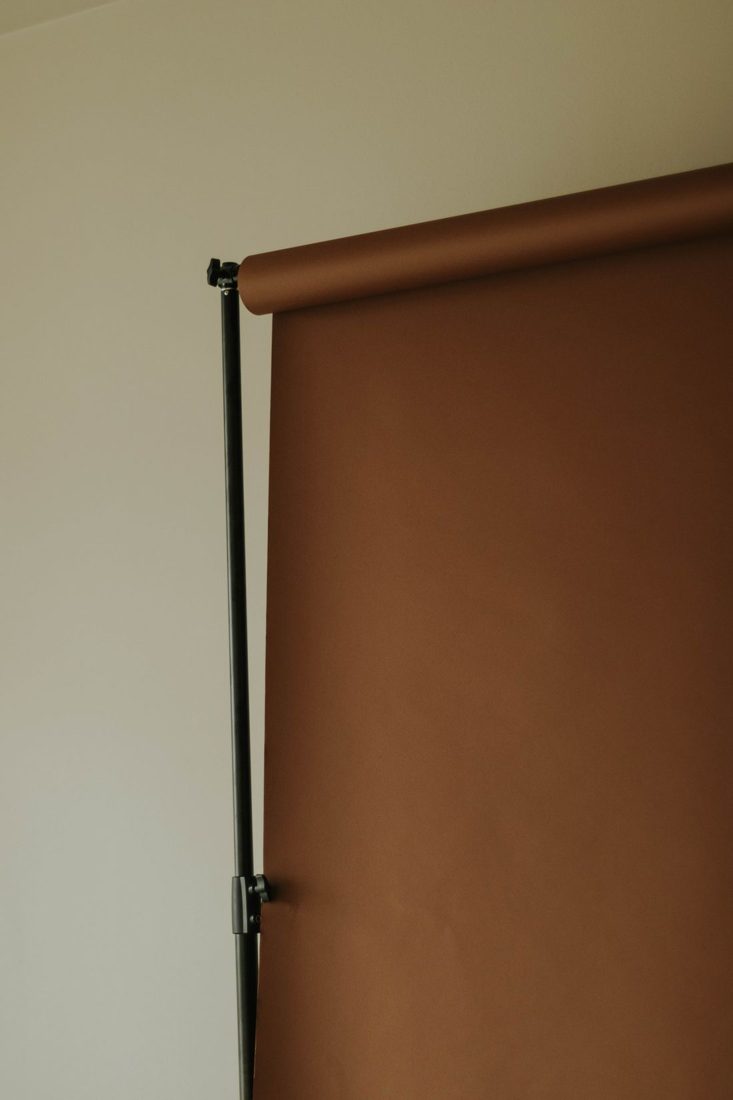
Plan a backdrop around the frame, choose a workable surface and support, and test storage so repeated use does not introduce bends or distracting marks.
Give the microphone, script, and noisy office tasks distinct places so a small recording corner can be prepared quickly without disrupting the rest of the workday.
Review supports, connections, power arrangements, and the working area before recording, using the equipment’s own instructions and setting questionable items aside for appropriate attention.
Define the learner’s starting point, the outcome, and the evidence needed on screen so a short educational video stays focused from script to final edit.
Find the decision behind a reader’s question, define a manageable answer, and organise examples that help someone act without needing the original conversation.
Name the task or finding clearly, preserve important limits, and compare the headline with the finished piece before using it on a page or promotional graphic.
Choose one recognisable subject, simplify supporting text, and inspect the real small preview so the thumbnail communicates the video’s topic without misleading visual clutter.
Select a photograph that represents the article’s central subject, preserves honest context, and still works in the crops used by the page and its previews.
Use a photograph’s caption to supply the relevant identity, circumstance, or explanation the viewer cannot reliably infer from the picture alone, without adding unsupported claims.
Use the script as a starting aid, then reconcile it with the final recording so subtitles preserve the actual words, meaning, and relevant audio information.
Review captions against the finished playback, watching entrances, exits, reading time, and visual overlap so accurate text arrives when the viewer needs it.
Describe the photograph’s instructional purpose in its page context, preserving the information a reader needs without turning alternative text into a catalogue of visible objects.
Prioritise a short message, clear type, and dependable contrast, then inspect the exported graphic at its actual feed size rather than only on the design canvas.
Use a few repeatable visual decisions to connect your work while giving each story the space and arrangement it needs.
Turn the useful actions in a written outline into a compact filming list that covers the explanation without collecting unnecessary footage.
Adapt the opening of a tutorial to what readers or viewers need in each format while keeping the underlying explanation accurate.
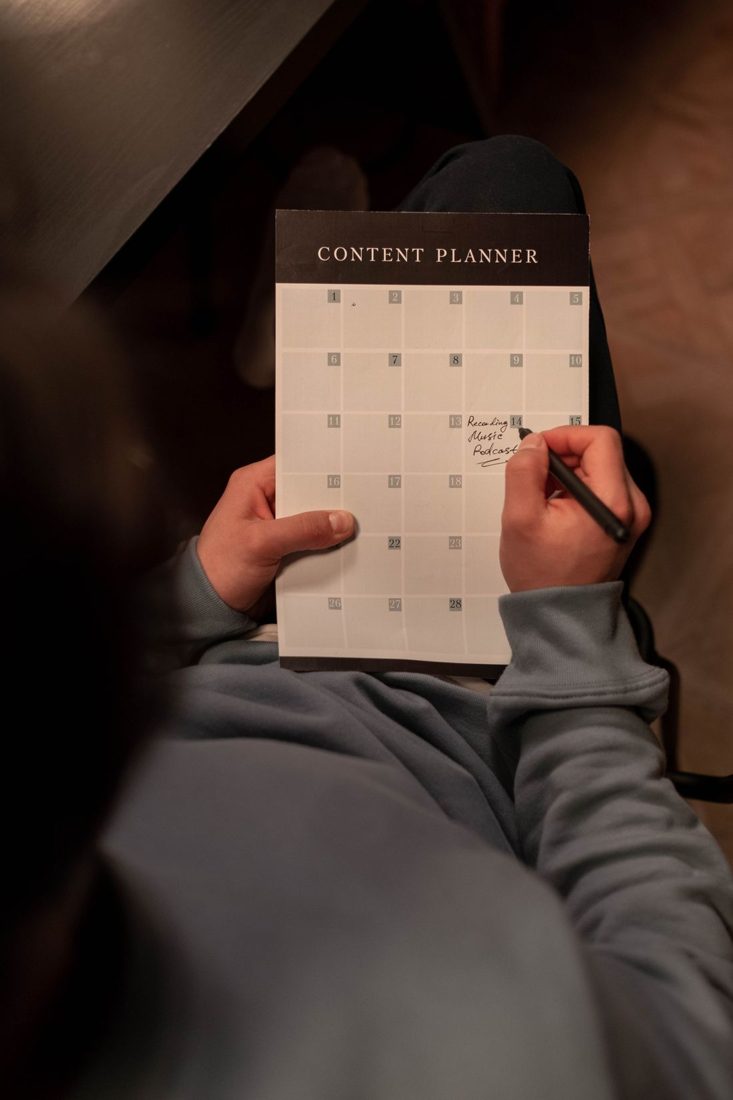
Build a publishing schedule around preparation, production and review time, with enough space to finish work alone.
Ask focused questions about a draft and turn the responses into decisions that make the next piece clearer.
Explain a creative project through its problem, decisions and visible result, with enough evidence for someone else to assess the work.
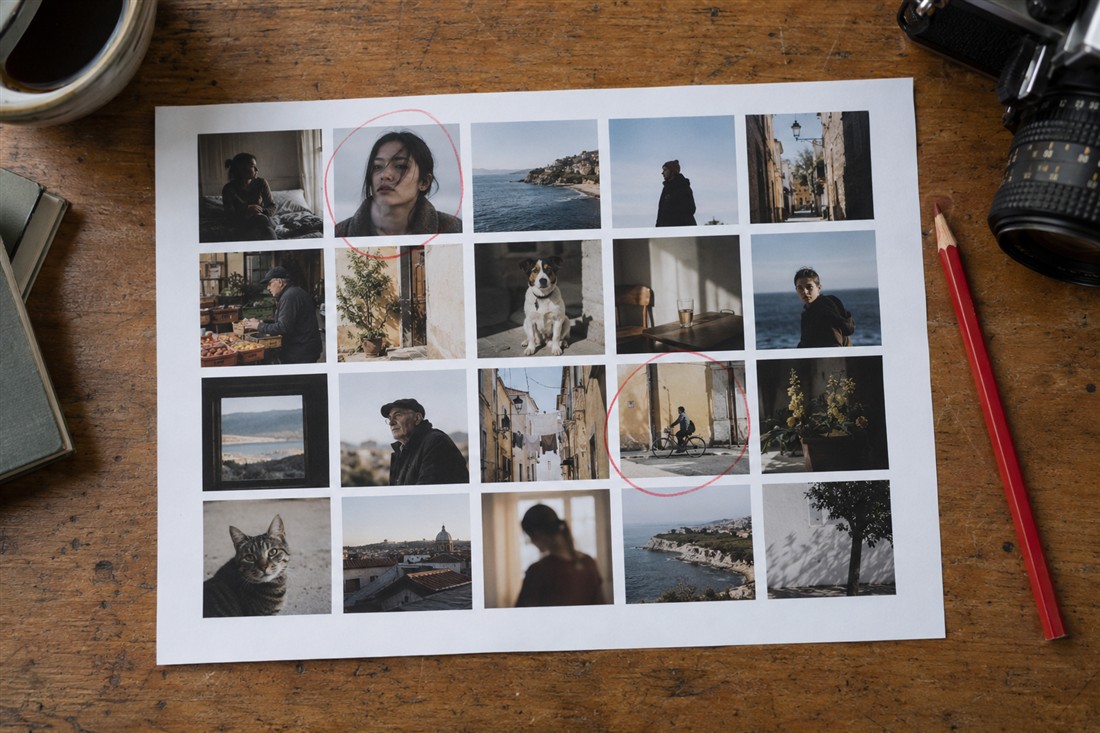
Arrange small previews with clear filenames so you can compare a photo session efficiently and return to the selected originals.
Create and verify a separate copy of your source media before editing, then protect the project files as the work develops.
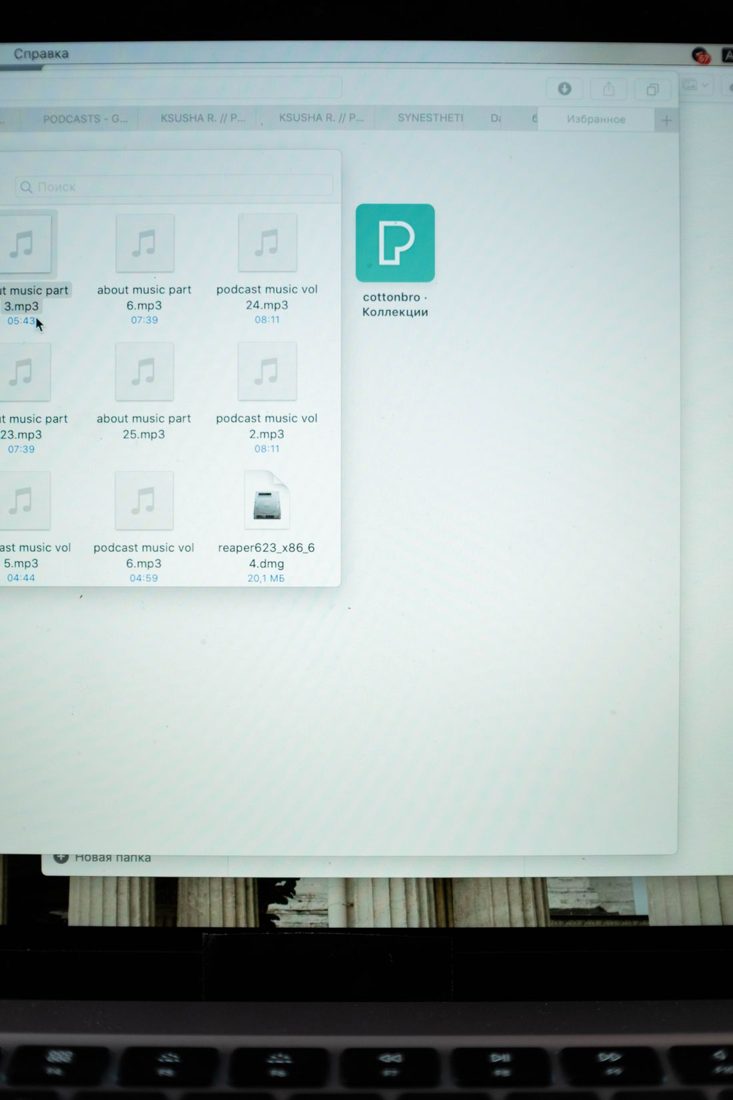
Use clear project and folder names that explain the contents and sequence without relying on your memory of the work.
Copy camera media into a traceable project structure, check the transfer and keep the original card until the copied files are protected.
Give untouched source media, editable project files and rendered outputs separate homes so later edits begin from the right material.
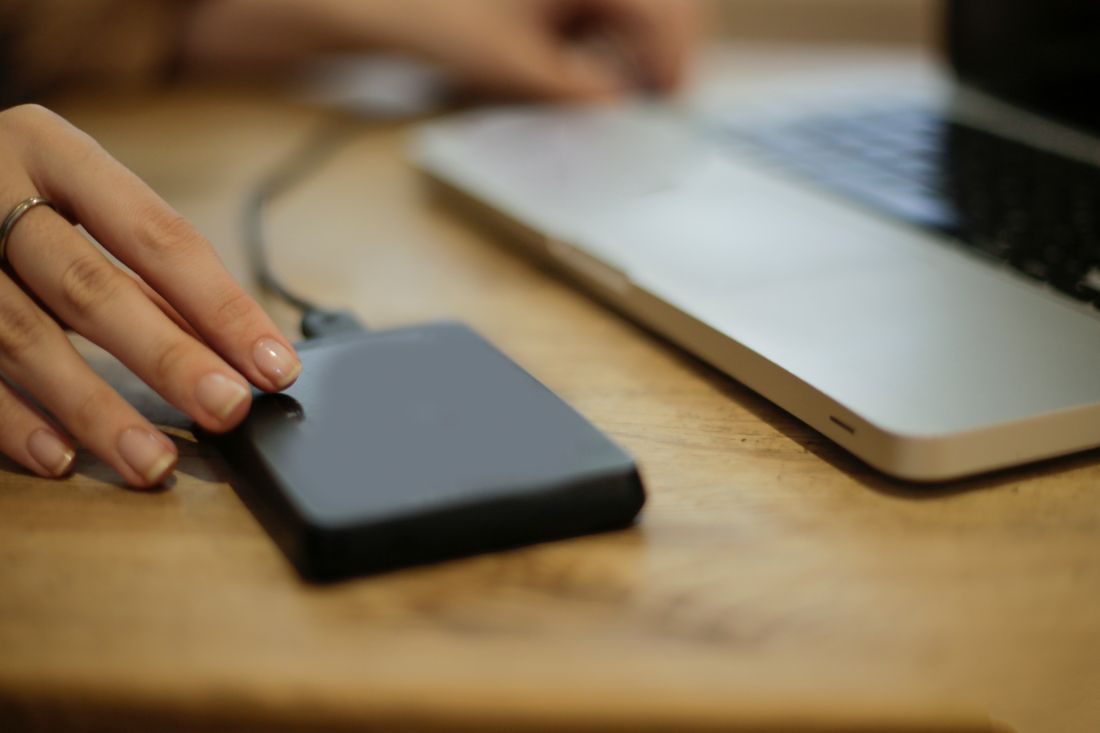
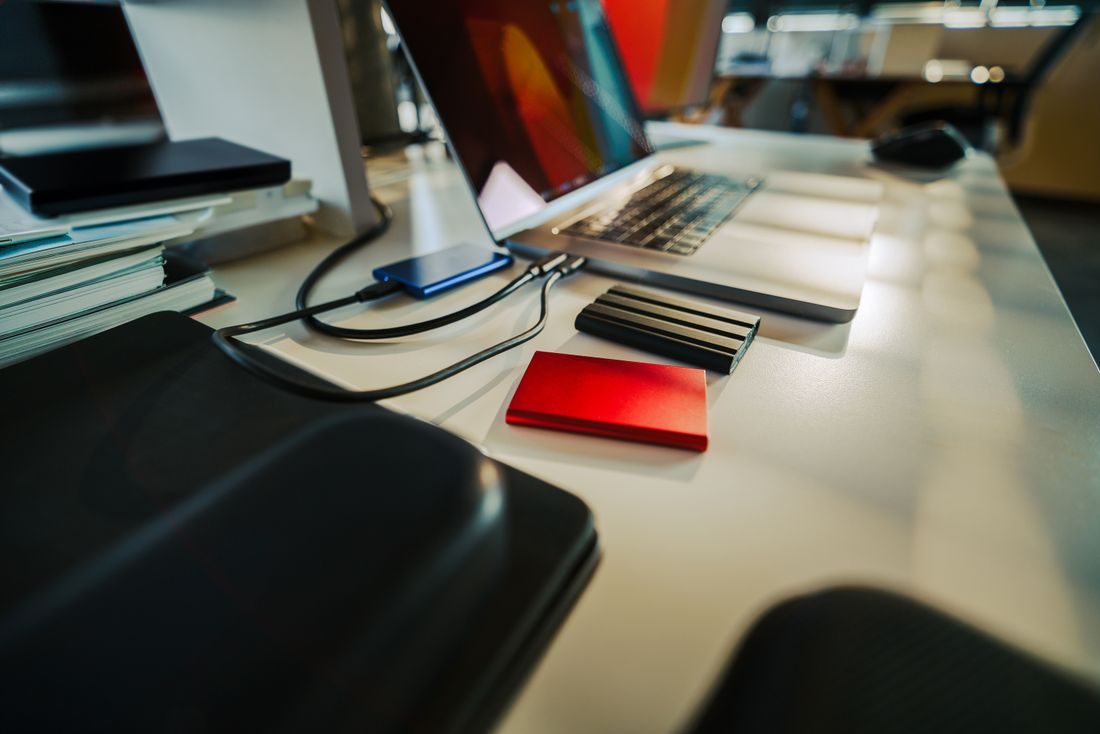
Match a portable editing drive to your files, computer connections and travel routine, then test it with your actual project.
Collect the files and instructions needed to open an editing project elsewhere, then test the handover away from its original locations.
Turn comments from different reviewers and versions into a single traceable list of decisions and completed changes.
Preserve an approved reference file and create clearly labelled platform versions from it or from the editable project.
Confirm the pixel size, intended crop and file format your web designer needs before sending the final image set.
Record what media you have, where it came from and how it is used without building a complicated asset management system.
Store the finished result, editable project and essential dependencies with a short explanation, then test that the archive can be reopened.
Fit a small shoot to its real working window by separating essential footage, setup time and optional ideas.
Check the actual delivered files, their intended uses and the handover information before sending a creative project.