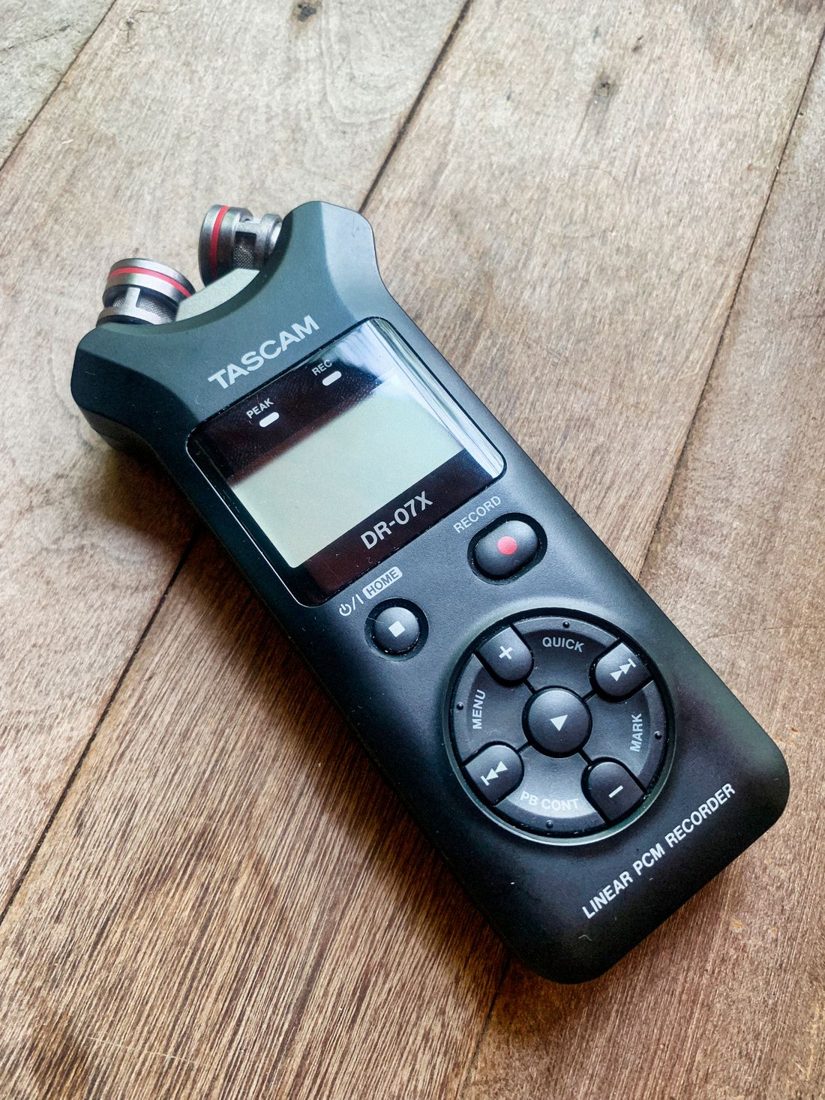
Selecting stereo does not automatically make a spoken recording richer. A single microphone used for one speaker often provides a mono source, while a stereo microphone can capture left-right information from a scene. The useful choice depends on what enters the recorder and what the final project needs. Check the complete signal path instead of choosing the option with the larger channel count.
Identify the source before the track
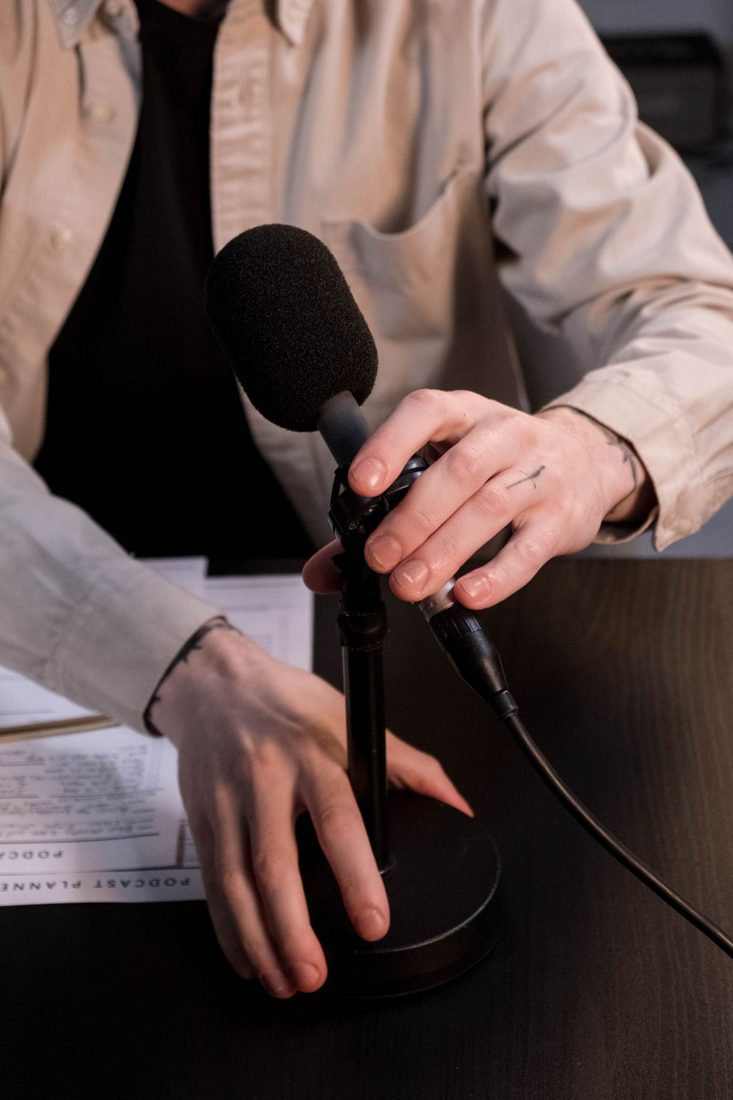
Look up the microphone and interface arrangement. One conventional microphone connected to one input is different from a stereo microphone, and two microphones recording two interviewees are not necessarily a finished stereo scene. For interviews, separate recorded channels can give you independent control over speakers later.
Record a test and inspect what actually appears. Audacity’s documentation notes that recording a mono source with stereo selected may produce duplicate channels or speech on one channel with silence on the other, depending on the device. Confirm the result by listening as well as looking at the waveform.
Give a single speaker a sensible place
For a voiceover, a mono voice track can sit in the centre of a stereo project alongside music or ambience. That does not mean the whole deliverable must be mono. Keep the source arrangement and the final output arrangement as separate decisions, guided by the delivery requirements.
If an imported recording contains one useful voice channel and one silent channel, use the editor’s supported channel tools to handle it appropriately. Do not simply turn the silent side up. Work on a copy and check the result through both sides of your headphones before continuing the edit.
Preserve stereo when it serves the scene
A stereo atmosphere can convey the spread of a location, and some music is deliberately arranged across left and right. Converting it to mono changes that presentation. Listen to what is gained or lost and check compatibility with the intended destination rather than applying the same conversion to every asset.
When reducing stereo to mono, follow the editor’s mixing behaviour and listen carefully. Some material changes noticeably when channels are combined. Keep the original so you can revisit the decision. For a straightforward spoken tutorial, choose the arrangement that keeps speech clear and the workflow understandable, then export a small sample in the required format to confirm that the delivery behaves as expected.
Write the intended channel arrangement into the project notes, particularly when another person will edit or publish the recording. A short test catches mistakes early. Mono and stereo describe how sound is organised; the appropriate choice is the one that preserves the information the project actually needs.