A microphone pushed to the back of a desk may leave plenty of space for a keyboard while capturing a distant, roomy voice. Moving it closer can help, but placement involves more than distance. The microphone needs to face the speaker correctly, stay out of direct breath, and fit the way the person reads or talks. Start with a short recording rather than a full script.
Find the part you should speak towards
Check the microphone’s manual for its intended orientation. An end-address model receives speech towards the end of its body; a side-address model is spoken into from a designated side. The grille’s appearance alone can be misleading. Put the stand where that working face points towards your mouth, rather than copying a photograph of a different microphone.
If the microphone has selectable pickup patterns, confirm which one is active. Its directionality affects how placement works. Do not assume a logo marks the front on every model, or that the back of every microphone rejects sound. Use the diagram for the actual microphone you own.
Compare distance with one repeatable sentence
Use the manufacturer’s suggested speaking distance as a starting point. Record the same sentence there, then repeat it slightly closer and slightly farther away. Include a quiet phrase and a naturally emphatic word. Keep your speaking effort similar, and reset recording gain if necessary to avoid clipping; this is a placement comparison, not a loudness competition.
Listen back at comparable playback levels. Notice whether room reflections become more apparent farther away, or whether the close position sounds excessively bass-heavy. Many directional microphones change their bass response at short distances. Choose a position that makes the words easy to follow, rather than automatically selecting the closest take.
Move the microphone out of the breath path
If words beginning with P or B produce a low thump, try placing the microphone a little to one side while keeping its working face directed towards your mouth. You should still speak naturally forwards. Compare that small adjustment with the original position; a large sideways move can change the tone or make speech less direct.
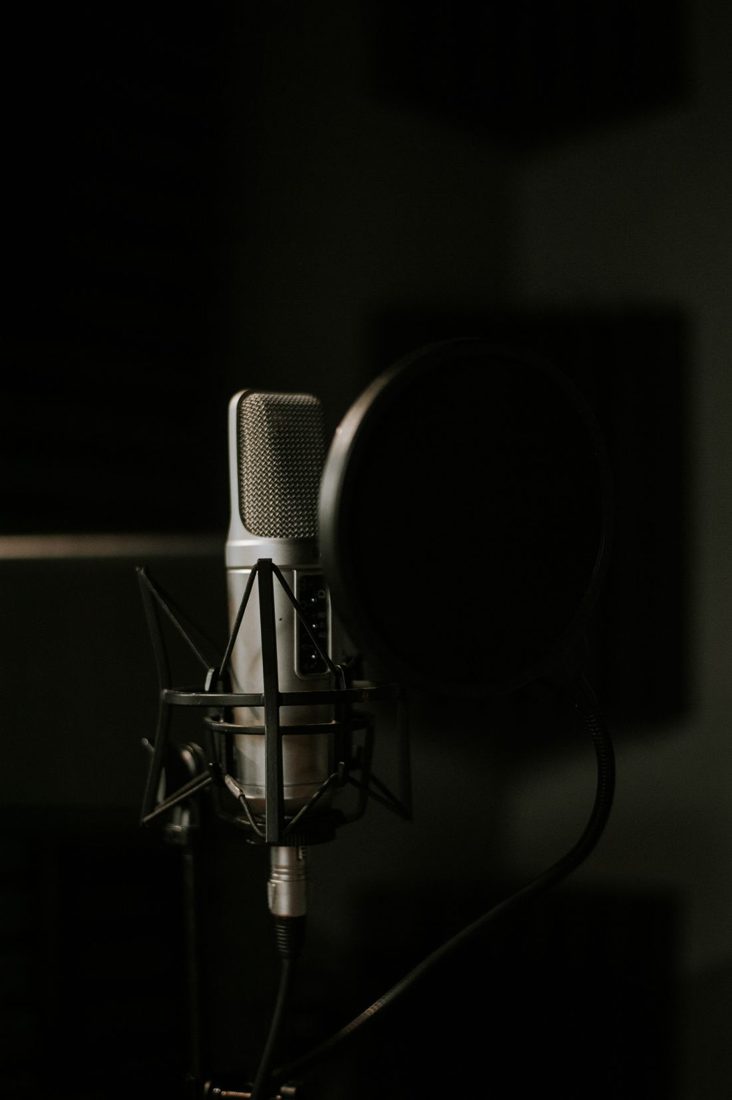
A suitable pop filter can help with bursts of air, but it should not become something you press your lips against. Give the filter and microphone the spacing recommended for the equipment, and leave enough room to avoid accidental contact. Retest with the sentence that revealed the problem.
Make the position usable for the whole recording
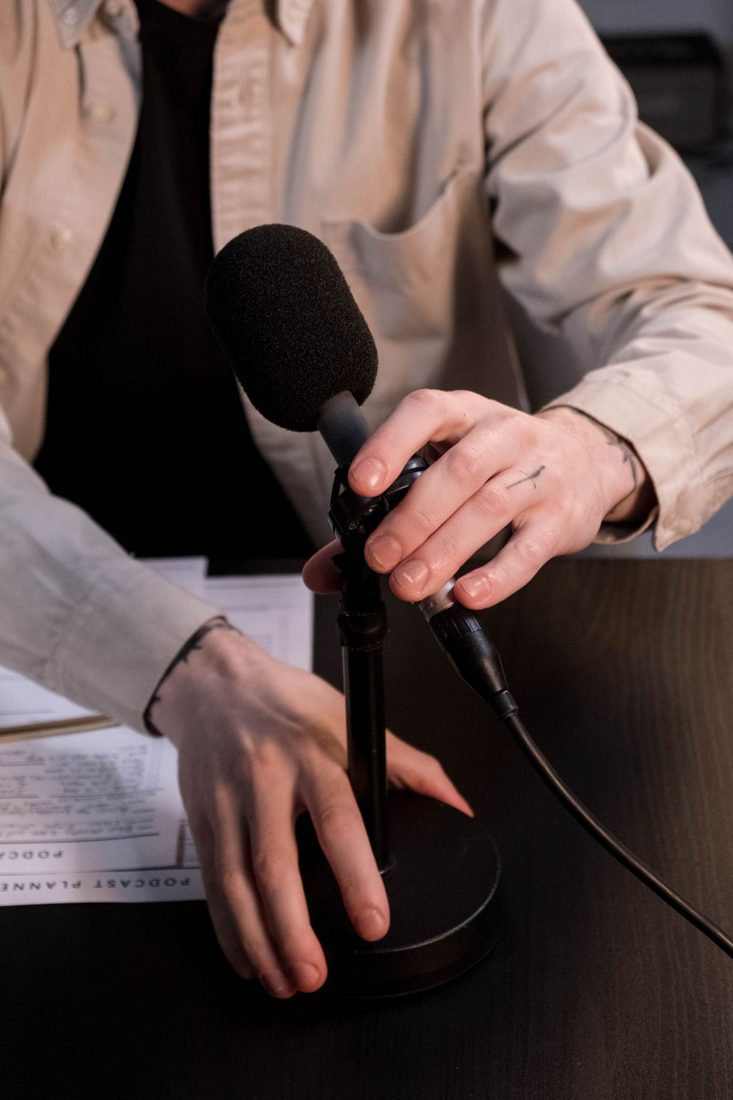
Place your script close to the direction you will face. If it sits far to the side, each glance can turn your mouth away from the microphone. Support the microphone securely and route its cable so it does not tug at the stand. Then record a short passage with normal gestures and page handling, listening for bumps as well as changes in voice tone.
Once you find a workable position, note the stand height and mouth-to-microphone distance so you can return to it. Keep the short comparison recordings until the session is finished. They provide a useful reference if the sound changes later, helping you check physical placement before reaching for another filter or effect.