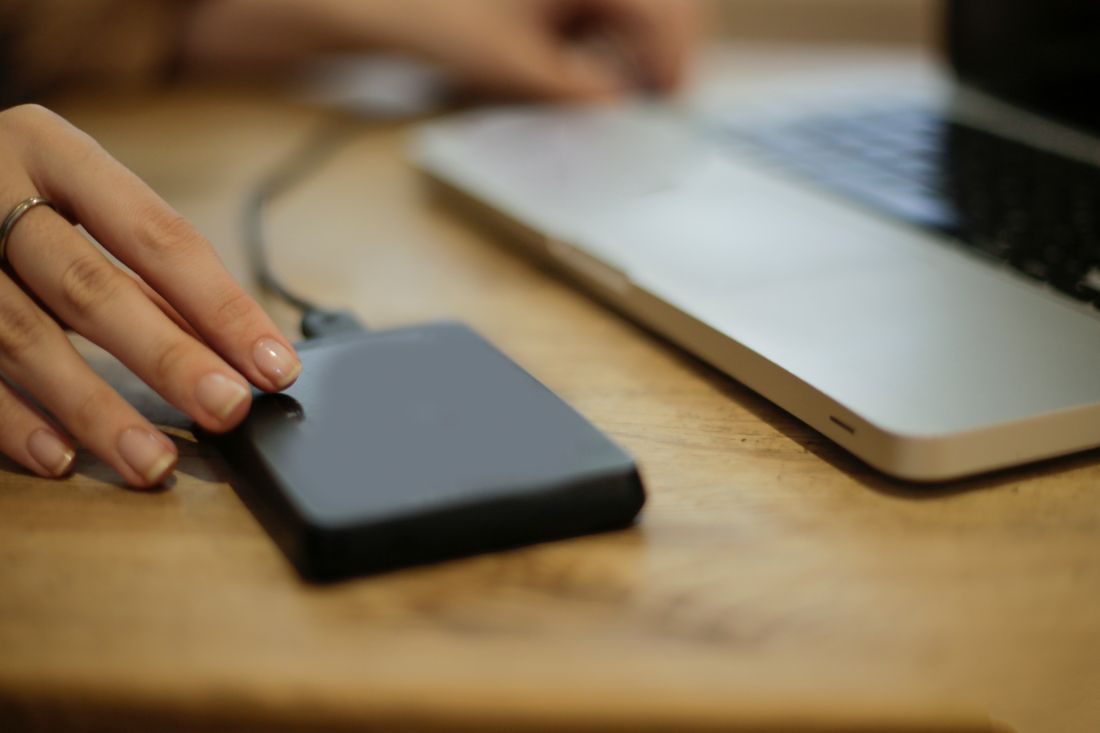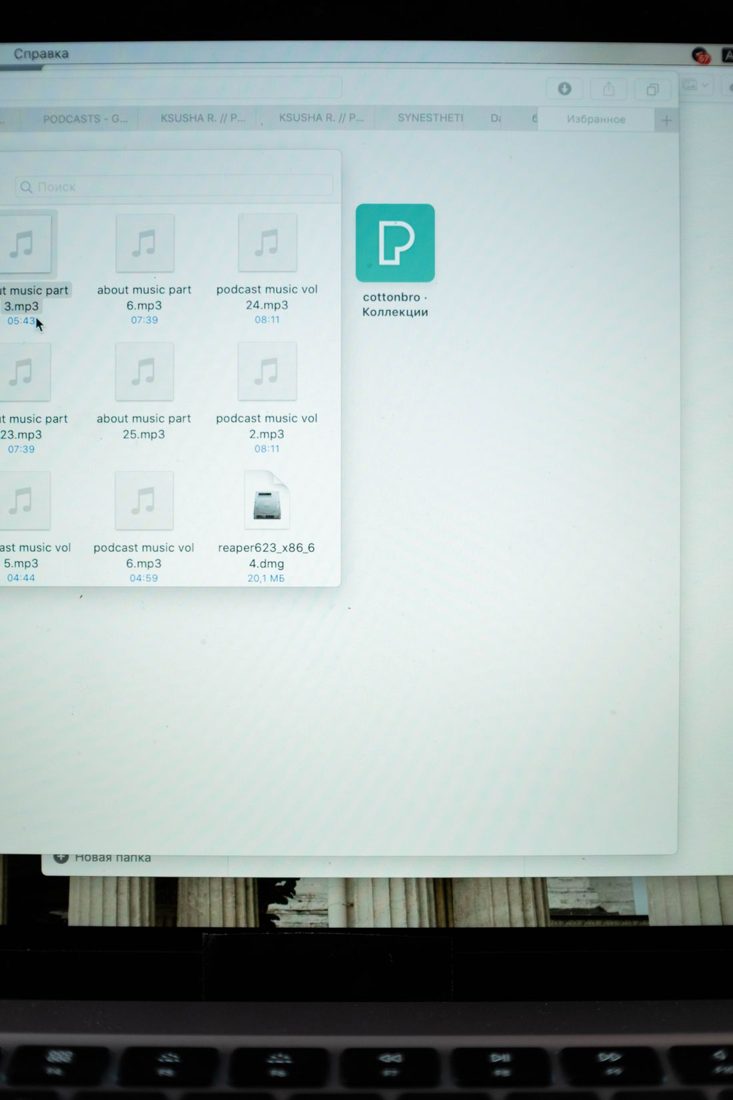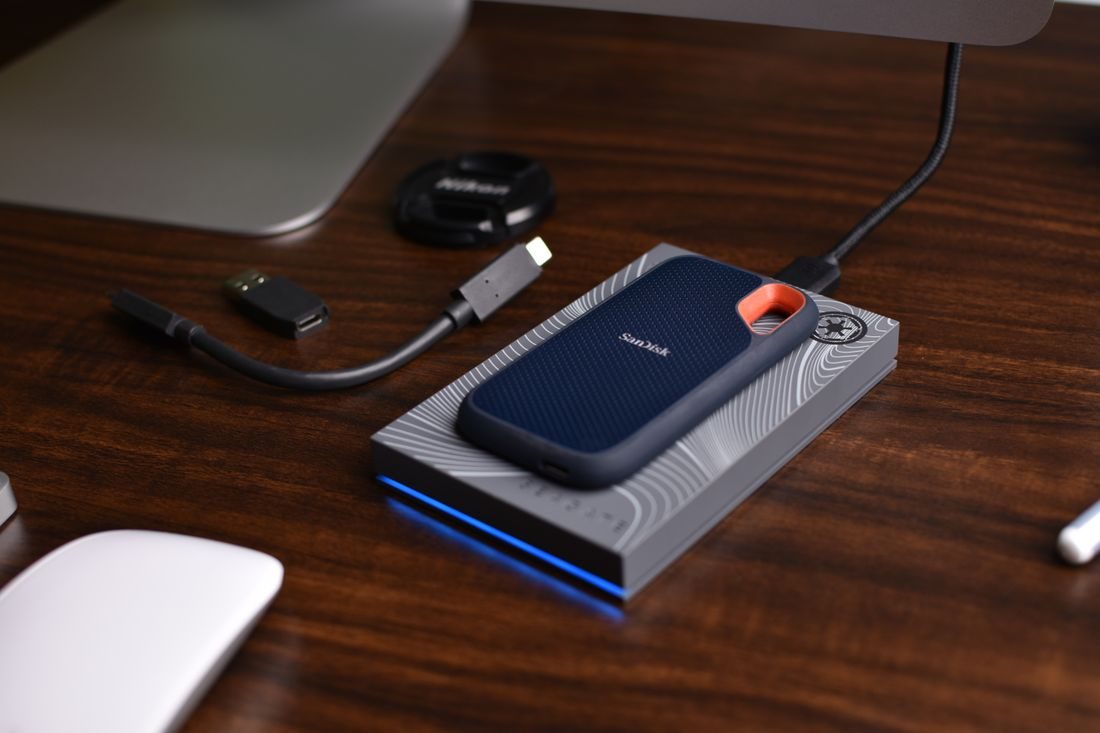
An external drive is part of a workflow, rather than a complete backup plan by itself. For portable editing, it needs to hold the project, connect reliably to the computer and cope with the way you carry and use it. Begin with the material you edit and the equipment you already have before comparing advertised specifications.
Estimate the space the project needs
Look at the size of a typical source folder and the extra space used by project files, previews and exports. Include room for revisions instead of choosing a drive that barely fits the initial media. Keep the backup copy on a separate storage location.
Think about how many projects must travel together. Carrying a current project and its essential assets may be simpler than keeping years of archives on the same working drive. Record the estimate so you can revisit it after completing a real edit.
Check the whole connection path
Confirm the ports available on the computer, the drive's connection and the cable supplied with it. An adapter or hub becomes part of that path and can affect practical use. A connector that fits does not, by itself, describe the performance of every component.
Check compatibility with the computers that need to read and write the project. File system choices can matter when moving between operating systems. Read the drive and operating system documentation before formatting, and copy any existing files elsewhere first because formatting can remove them.
Consider the conditions of portable work
Decide where the drive will sit while editing and how it will travel. Look for a manageable cable arrangement that will not pull the device off a table. Keep it protected from spills, crushing and excessive heat according to its manufacturer's instructions.
Different drive types offer different trade-offs in capacity, cost and handling. Rather than assuming one label solves every problem, consider whether you need frequent travel, sustained media playback or mostly storage between sessions. Leave access to any required power supply in the packing plan.
Test with representative media
Copy a real project or a representative selection to the drive and open it through the editing application. Check ordinary playback, movement through the timeline and an export. A simple file copy alone does not reveal how the drive will behave in your editing routine.
Try the actual cable, hub and computer combination you intend to use. Note any disconnects, missing media or power problems and resolve them before a deadline. Eject the drive through the operating system before unplugging it, and keep another checked copy of important material.
Choose around a complete, tested workflow: adequate space, compatible connections and reliable use with your files. Treat the portable drive as working storage and keep a separate backup. Its suitability is easier to judge after a representative edit than from a headline specification.