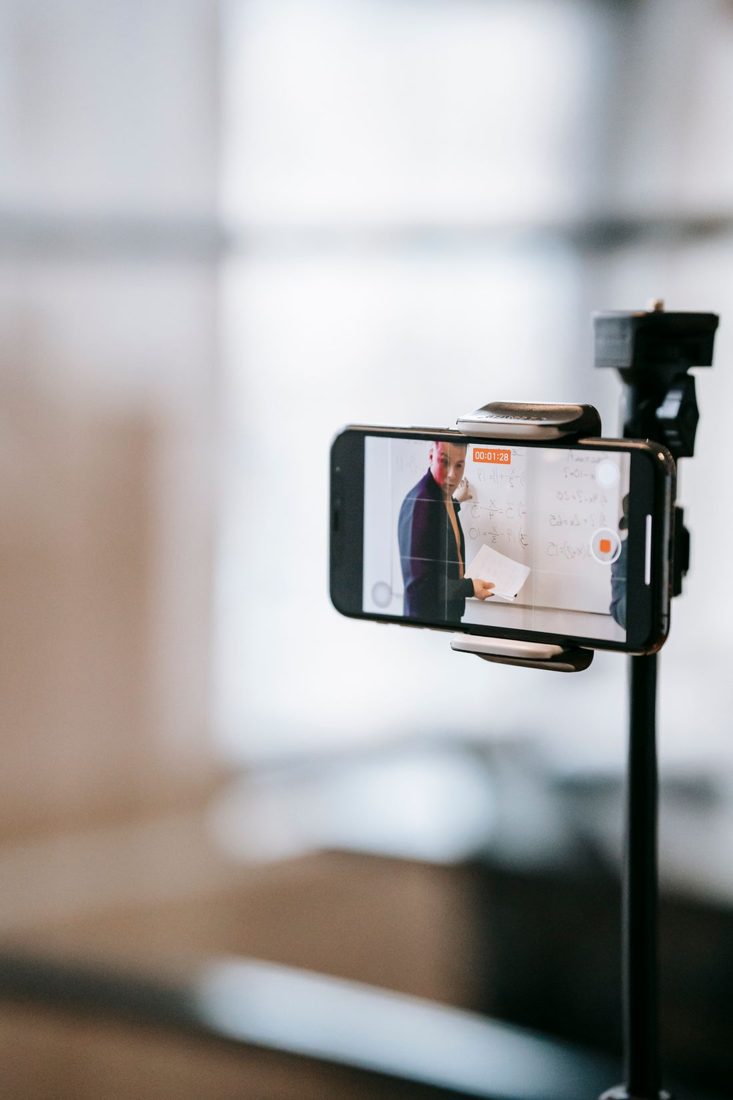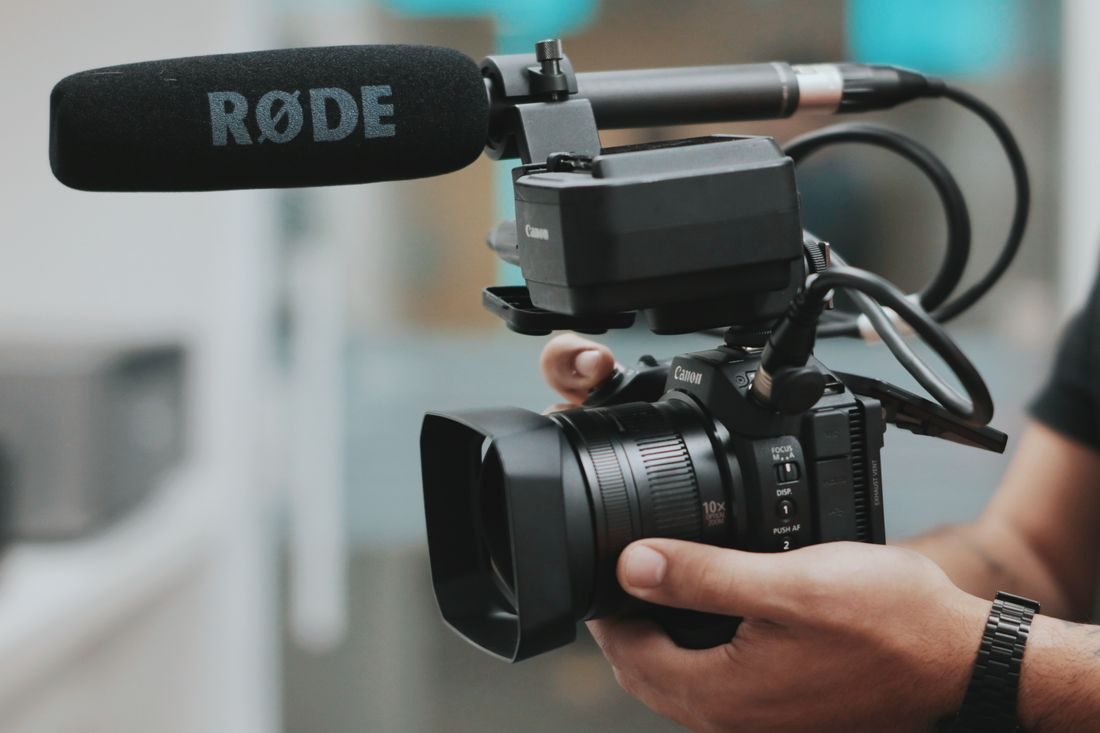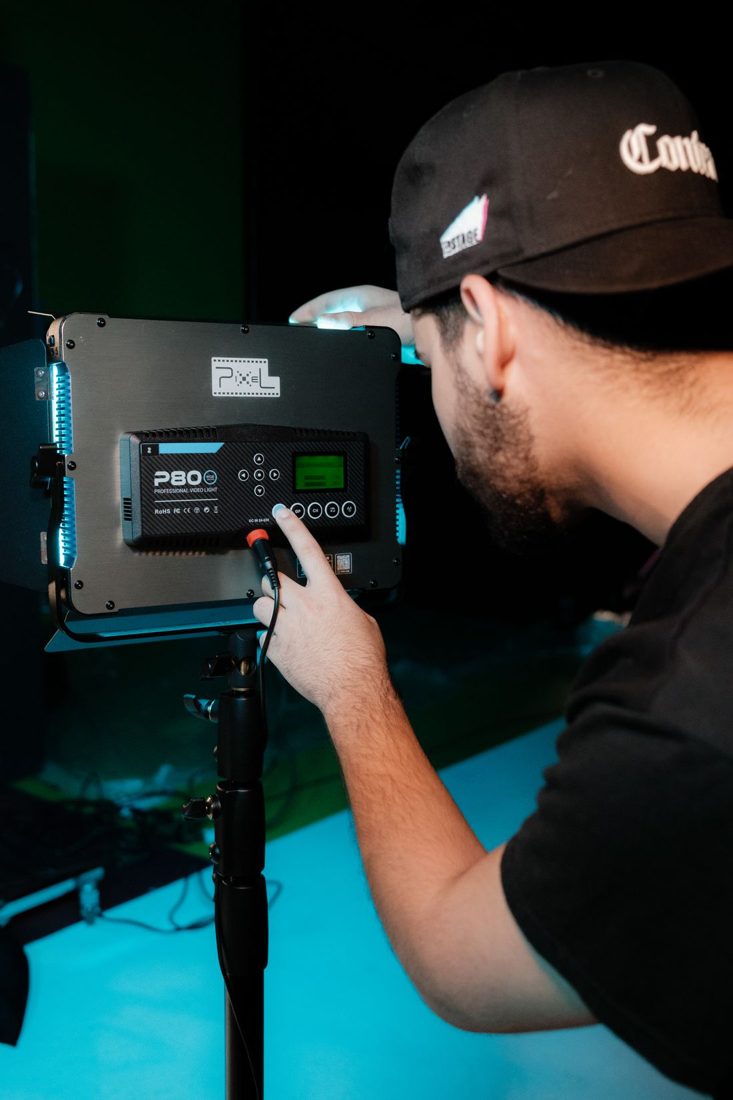
A room can look steadily lit to your eyes while a video shows dark bands or pulsing brightness. The camera samples light over time, and some fixtures vary their output in ways that interact badly with the recording settings. Diagnose the actual room before the main recording; the right solution depends on the lights and the camera.
Find which fixture causes the problem
Record a short view of a plain wall or the subject's face under the intended lighting. Look for travelling bands, regular brightness changes or inconsistent color. Watch the recorded clip as well as the live preview, since a small camera display can hide a subtle problem.
Switch fixtures off individually if you can do so safely. A ceiling light, desk lamp and decorative strip may use different drivers or dimming methods. If daylight alone records cleanly, the comparison helps isolate the artificial source rather than encouraging random changes to every camera setting.
Try a deliberate shutter change
For lighting related to a 50 Hz electricity supply, shutter times such as 1/50 or 1/100 second are common starting points. With 60 Hz supply, 1/60 or 1/120 may be useful starting points. These are tests, not guarantees: LED drivers, dimmers and other electronics can operate at different frequencies.
Choose a recording frame rate that permits the shutter time you want to test. Keep the overall brightness comparable as you change settings, using the camera's available exposure controls. Otherwise a darker picture may make flicker less noticeable without actually fixing the interaction.
Use the controls your camera actually provides
Some cameras offer a variable or finely adjustable shutter function intended to deal with difficult lighting. Others provide only ordinary shutter steps. Consult the instructions for your exact model; a feature called anti-flicker for still photographs does not necessarily operate during video recording.
If a lamp has a dimmer, compare a suitable brighter setting with the reduced output you planned to use. Do not assume that a newer or more expensive fixture is automatically flicker-free at every setting. Avoid making electrical changes to a fixture; use its intended controls or replace the light with a suitable alternative.
Approve the whole shot, not just one frame
Once a test looks clean, record the intended movement and a longer sample. Review faces, walls and bright backgrounds at normal speed. A still frame cannot reveal brightness pulsing that becomes obvious across several seconds, and one camera angle may hide bands that appear in another.
Check screens and illuminated signs separately if they are important to the picture. Their refresh behavior can require a different compromise. When no setting gives a satisfactory result, change the light, reposition the scene or remove the troublesome source before relying on editing to rescue the footage.
Save a note of the frame rate, shutter setting and lamp arrangement that passed the test. Recheck if the fixture or dimmer level changes. Solving flicker in the room usually preserves more picture quality and editing time than trying to conceal it after the entire shoot.