A window gives you a useful place to begin a portrait without setting up studio lights. The challenge is deciding where the person should sit and what the camera should see behind them. You can solve most of that by looking carefully at the face before touching exposure settings. Start with a willing subject, a clear patch of floor and enough time to move a chair.
Find light you can work beside
Look at the window from inside the room. Is direct sunlight drawing hard, bright shapes across the floor, or is the light spread more evenly? For a gentle starting point, choose a position outside those direct patches. If the window is receiving strong sun, try another window or return when the light changes rather than assuming every window will produce the same result.
Turn off nearby lamps for the first comparison if they cast a different colour across the face. Nikon’s guidance on window-lit portraits also suggests beginning without overhead lighting. This gives you one main direction of light to evaluate.
Move the chair before moving the controls
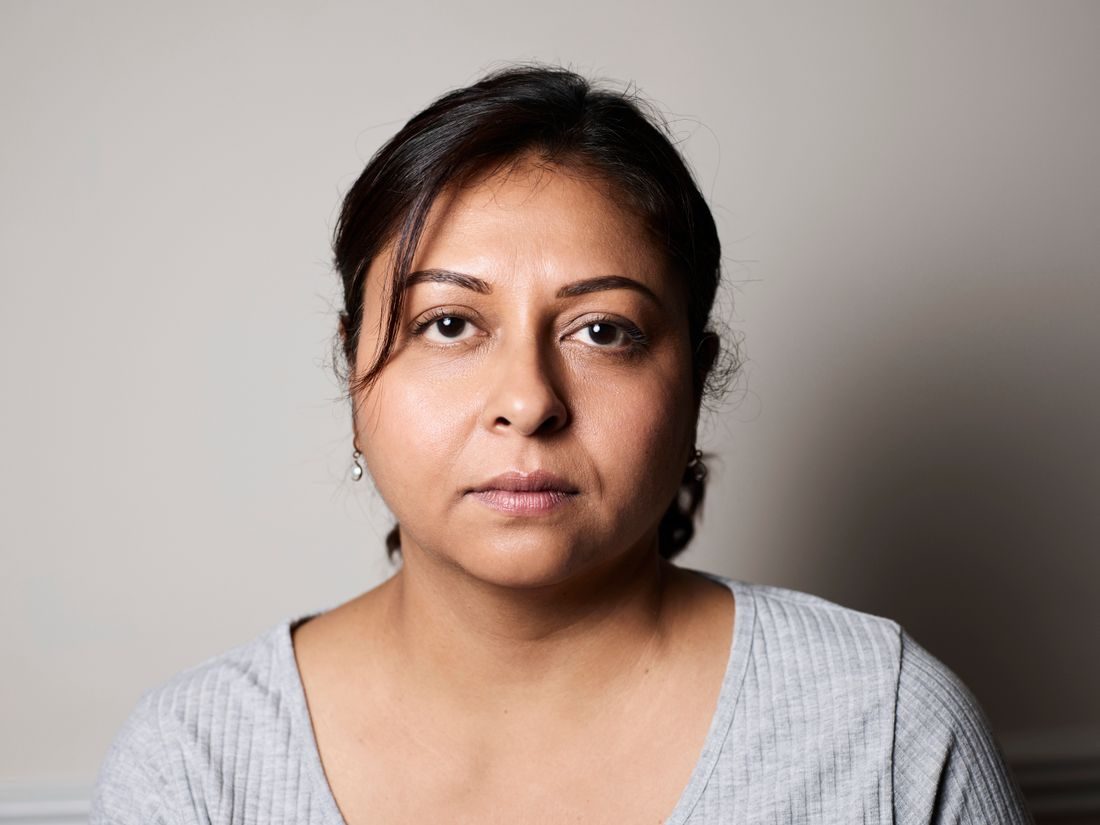
Place the person beside the window and ask them to turn slightly toward it. Stand where you can see both eyes comfortably. Watch the cheek away from the window: if it looks darker than you want, ask the person to turn a little more toward the light. If the face looks too evenly lit for your intended picture, try a slightly more sideways position.
Take one photograph, then move either the chair or your camera position. Change only one of them at a time. A small movement can also remove a distracting curtain edge from behind the head, so judge the whole frame rather than the face alone.
Make the background quieter
Look around the outline of the head and shoulders. Move a hanging coat, step sideways to hide a bright doorway or choose an uncluttered wall. If space allows, leave some distance between the person and that wall. Avoid placing them so close to the window that they feel squeezed against furniture.
Keep the camera around eye height for your first frame. Ask for a relaxed position that the person can hold comfortably. Give one clear suggestion at a time, such as turning the shoulders slightly, instead of directing the face, hands and posture all at once.
Check a frame before continuing
Focus on the nearer eye or use your camera’s appropriate face-focus option. Inspect a captured image at a useful magnification to check the eye, not just the clothing. If movement looks blurred, use a faster shutter setting where available or move to a brighter position.
Check that the lit cheek still shows detail. Adjust exposure if needed, then make a short sequence while the person makes small, natural movements. Recheck when the daylight changes instead of carrying the first setting through the whole session.
Keep the frame that combines a clear expression, an intentional background and light you actually like. Record the chair position and time of day if you want to repeat the setup. A window portrait becomes easier when you treat position as part of lighting and make one understandable adjustment between comparisons.